


Every license key that connects your WordPress store to a ReviewX plan is managed from one centralized dashboard in the ReviewX Client Portal — allowing you to generate new keys, view connected domains, and release unused slots.
Step 1: Open Licenses in the Portal
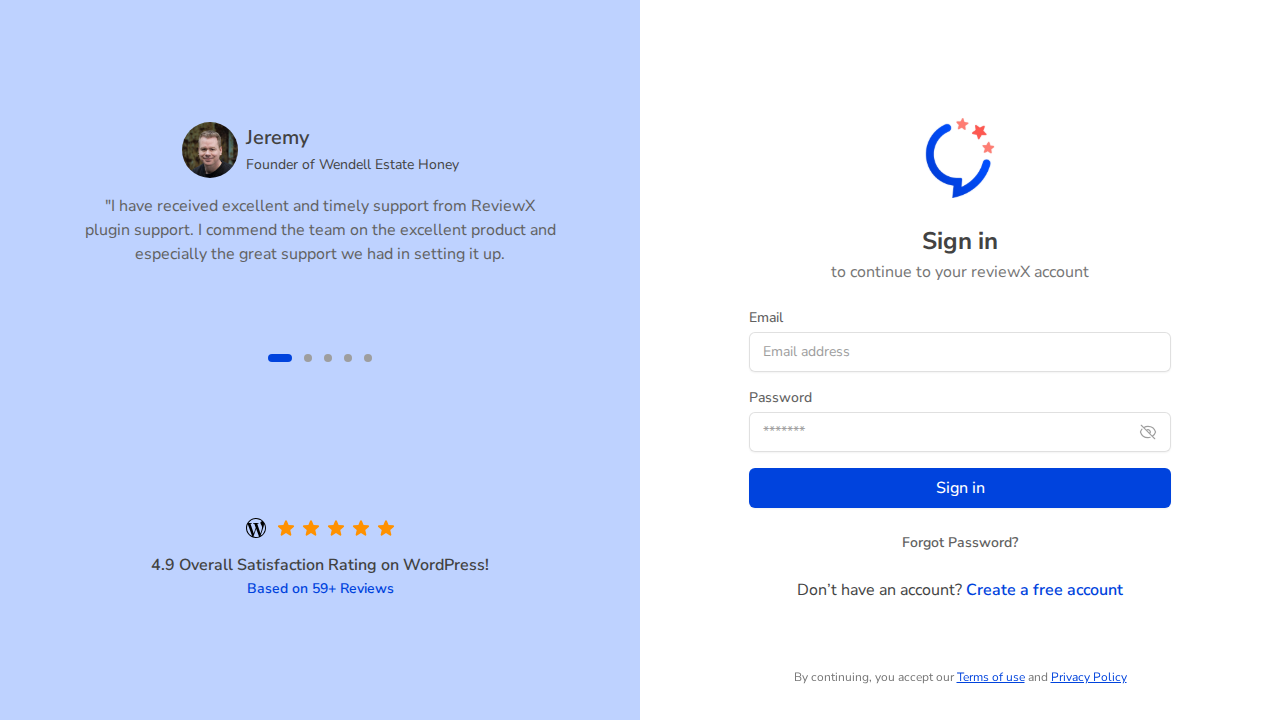
Sign in to the ReviewX Client Portal and select Licenses from the navigation menu. You will see summary metrics for your plan: Total Slots, Remaining Slots, Used Keys, and Unused Keys.
Step 2: View Connected Domains
Below the summary tiles, the connected sites table lists every active WordPress store linked to your plan along with its initial connection date and sync status.
Step 3: Copying Keys for Client Sites
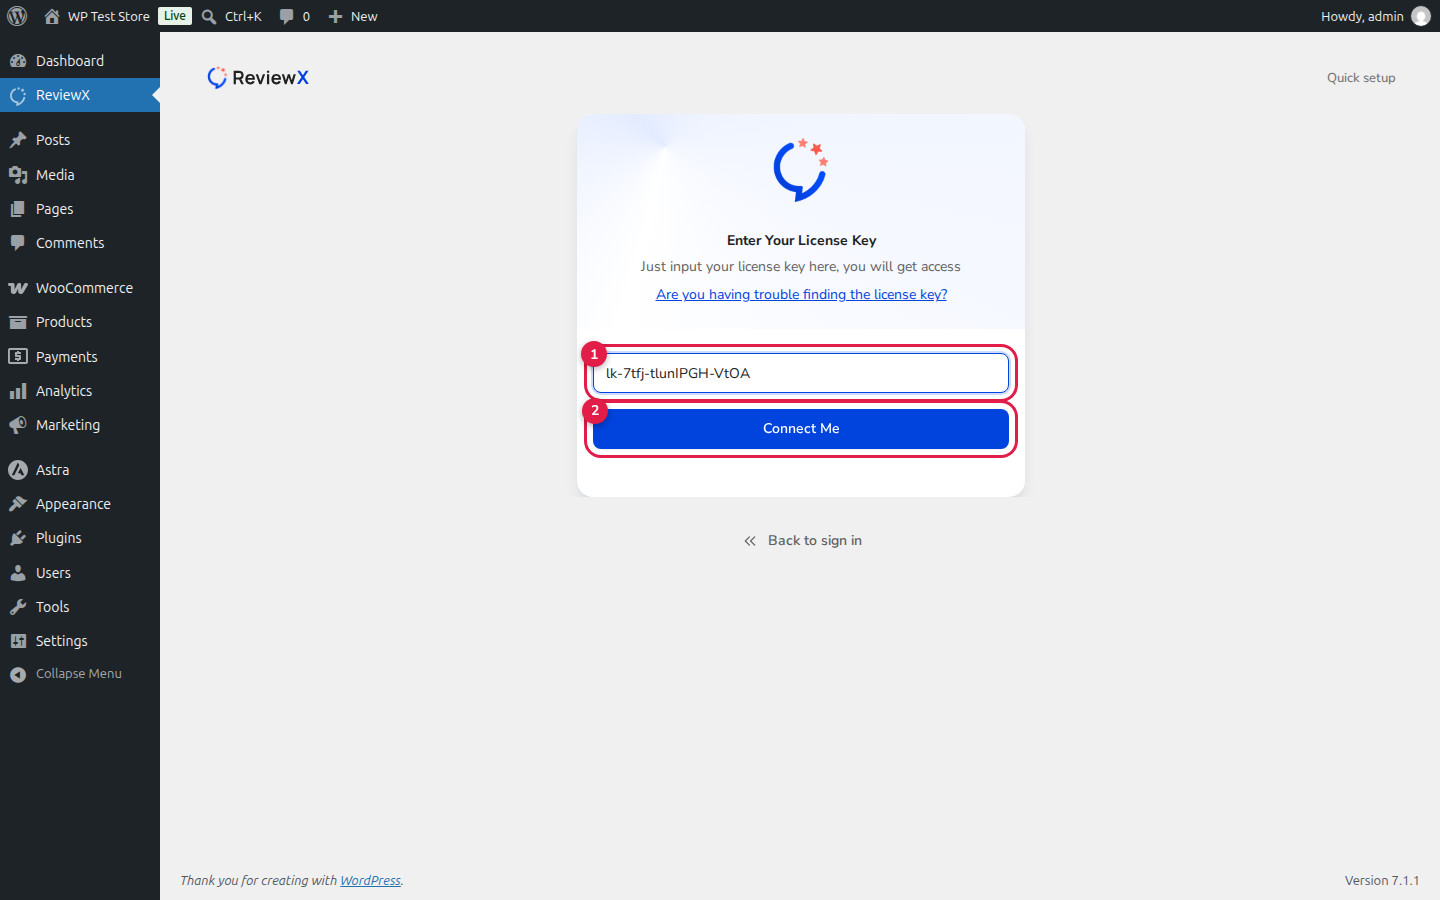
Copy your target key (prefix: lk-...) and provide it to your store administrator to connect during the initial WordPress onboarding wizard:
Step 4: Deauthorizing or Moving a License
If you are decommissioning a staging store or transferring a license to a new domain, click Disconnect next to the site in the Client Portal. This frees up the slot immediately so you can activate the key on your new store.


