


While WooCommerce store owners use the Woo Review widget, sites that manage online courses (LMS), real estate listings, hotel accommodations, books, portfolios, or events require review collection on WordPress Custom Post Types. The ReviewX CPT Review Elementor widget brings the full power of ReviewX multi-criteria ratings directly into your Elementor Single Post templates for any registered CPT.
Thank you for reading this post, don't forget to subscribe!This guide explains how to enable CPT reviews, add the ReviewX CPT widget in Elementor, and configure custom evaluation metrics for non-ecommerce content.
Prerequisites
- Custom Post Type Registered: Ensure your custom post type (e.g.
course,property,event) is registered withpublic => true. - Enabled in ReviewX: Navigate to ReviewX → Custom Post Types, click Add post type, and activate reviews for your CPT.
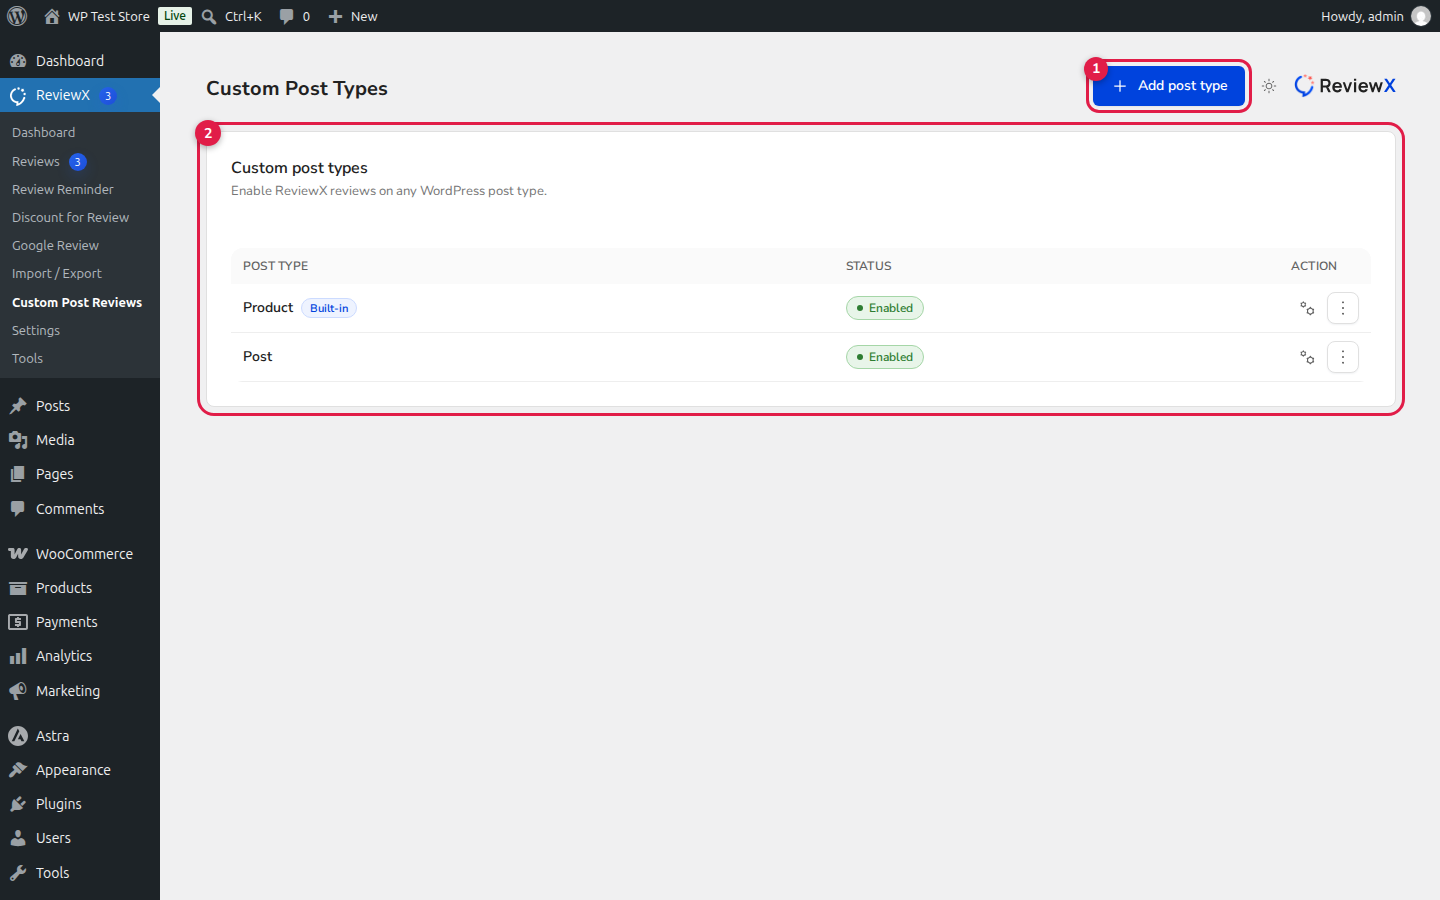
Figure 1: Custom Post Types dashboard in ReviewX confirming that reviews are enabled for your CPT.
Step 1: Open Your Elementor CPT Single Template
- In your WordPress admin, go to Templates → Theme Builder.
- Select Single Post and click Add New (or edit your existing single template for the CPT).
- In the Template settings, set the Preview Dynamic Content to an entry of your custom post type.
Step 2: Add the ReviewX CPT Widget
- In Elementor’s widget panel, search for ReviewX CPT.
- Drag the widget onto your single template canvas.
- ReviewX automatically detects the current post type and loads its assigned multi-criteria benchmarks.
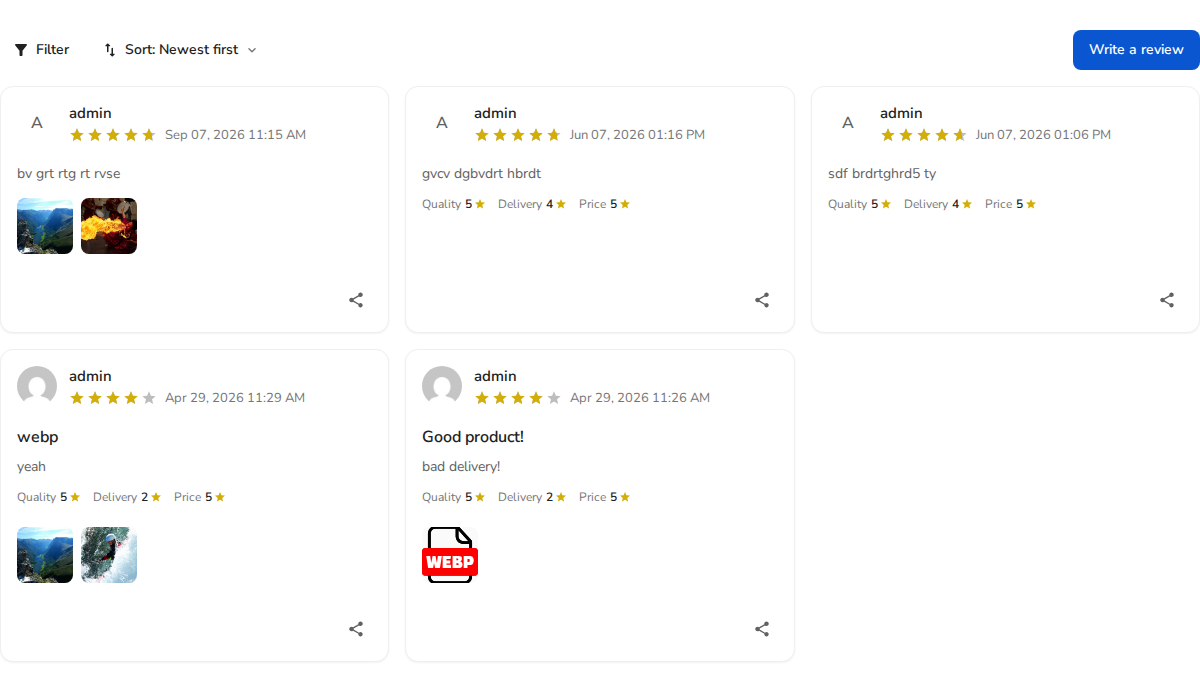
Figure 2: ReviewX CPT widget rendering verified customer reviews with rating stars, criteria scores, and helpful votes.
Step 3: Widget Configuration Controls
In Elementor’s side panel:
- Target Post Source: Defaults to the Current Post inside the template loop. You can also specify a static post ID if building a featured review showcase on a landing page.
- Criteria Breakdown: Toggle whether the criteria graph displays on the template.
- Form Visibility: Control whether guests or logged-in users can access the review submission form.
- Media Attachments: Allow readers or students to upload photos and screenshots alongside their reviews.
Step 4: Assign Display Conditions
- Click Publish / Update.
- Under Display Conditions, select Include → Singular → [Your Custom Post Type] → All (for example, Courses → All Courses).
- Save and view a live entry on the frontend to verify review submission and display.


