

ReviewX introduced Oxygen builder elements to showcase your review collections with full designing flexibility. Using ‘ReviewX Product Data Tabs’ each element of review information is designable. Let’s get started and follow the steps below:
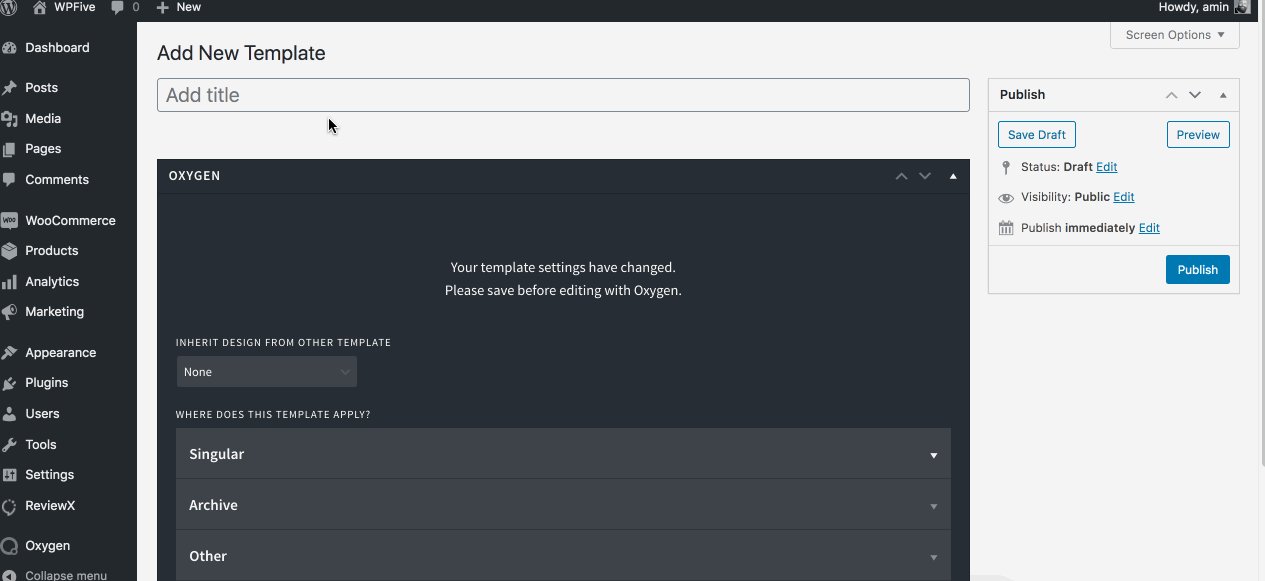
Step 1: To use ‘ReviewX Product Data Tabs’ for Oxygen Builder, you need to create a template for a single product page.
Process of creating template : Template > Add new Template > Check ‘Products’ and ‘ReviewX’ under the Singular Tabs > Publish the template
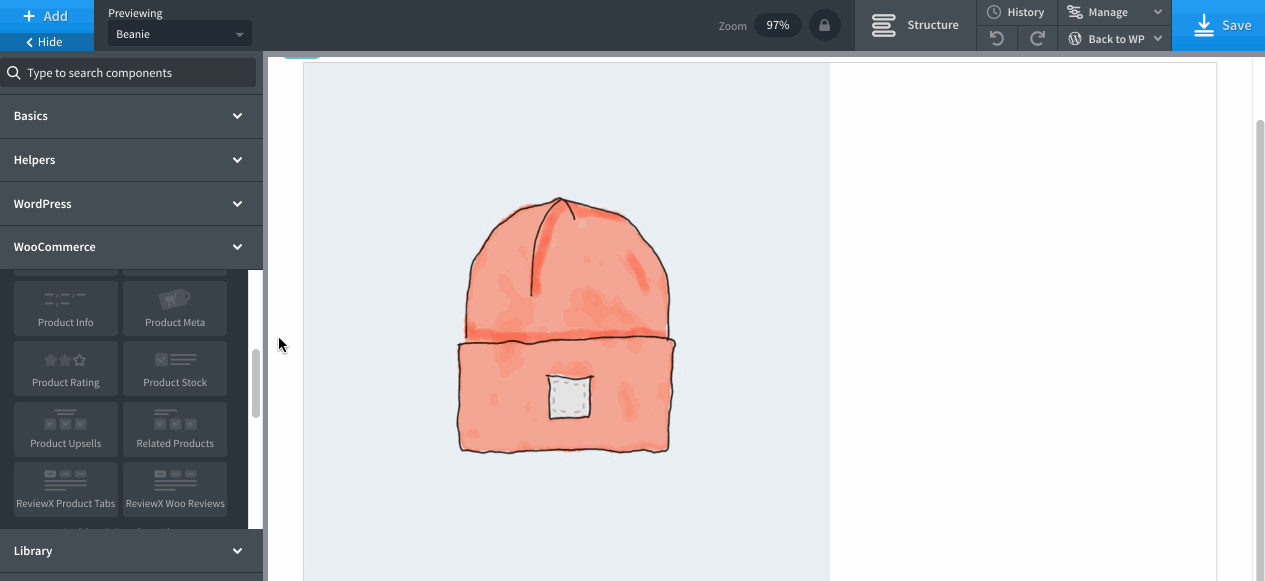
Step 2: Once the template is published, then hit the button ‘Edit with Oxygen’. Select the products from dropdown, add different elements of WooCommerce for designing the single product page.
Step 3: Add the element ‘ReviewX Product Tabs’ from WooCommerce Elements tabs.
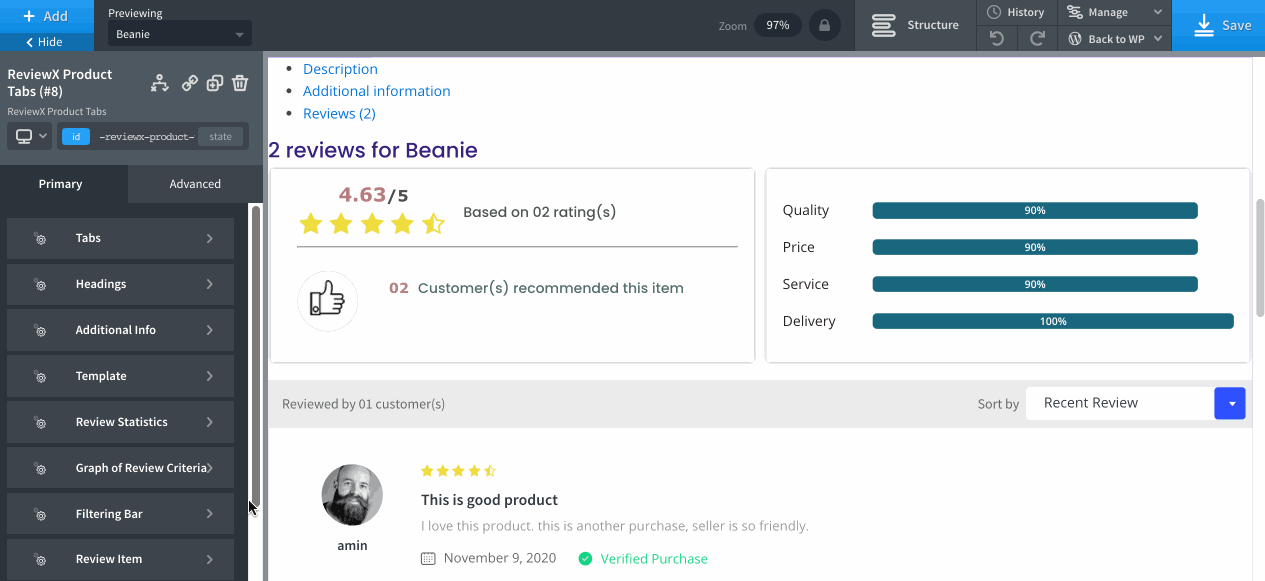
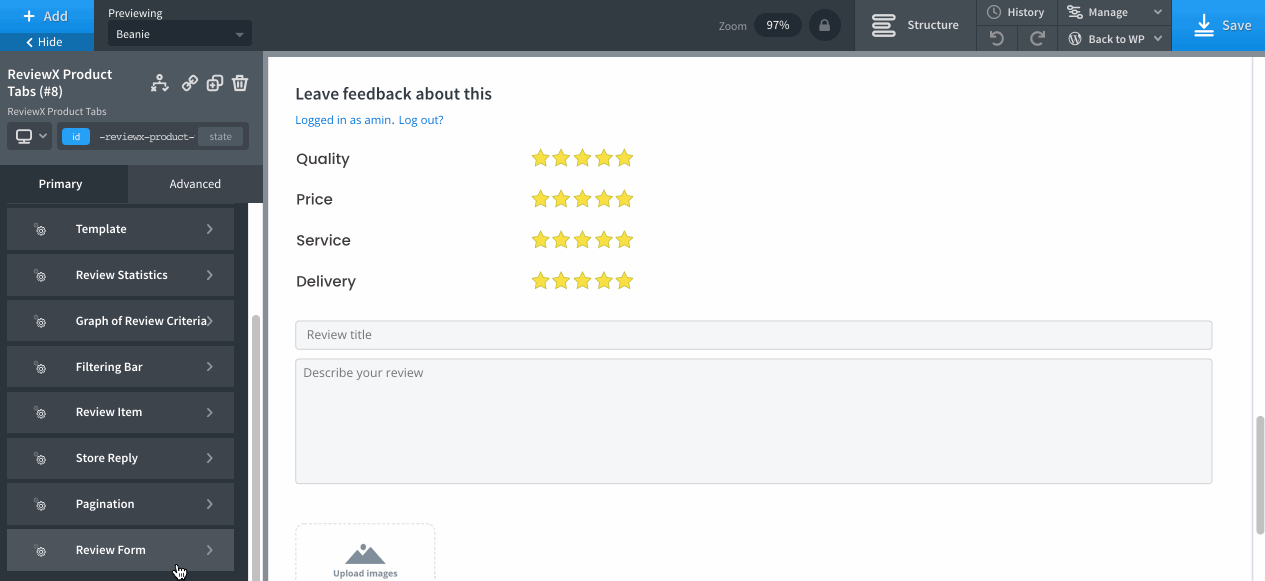
Step 4: Review Statistics
Now, from ReviewX Product Tabs, you can customize each elements of ReviewX. Like, template choice option, you can select classic or bix design template.
Review statistics tab is for editing review data, like star rating size, color, highest rating typo graphy, recommendation number, text, typography can be edited from this section.

Step 5: Graph of Review Criteria
The graph section is for editing graph criteria typography, color, graph bar color, design, typography, etc. After changing the settings hit the ‘Apply Param’ button below.
Step 6. Filtering Bar tab
Whole filtering bar elements can be edited from here, like Dropdown Background Color, Filter Background Color, Dropdown Box-shadow, Text Color, Typography, Filter Background Color, Text Color, etc.

Step 7. Review Item
Review related information and elements like Reviewer Name Color, Avatar Border Color, etc can be changed under the review item tabs.
Review Content: Star Rating Color, Star Rating Size, Typography, Review Title, Review Contents, etc can also be edited from here.
After changing the settings hit the ‘Apply Param’ button below.
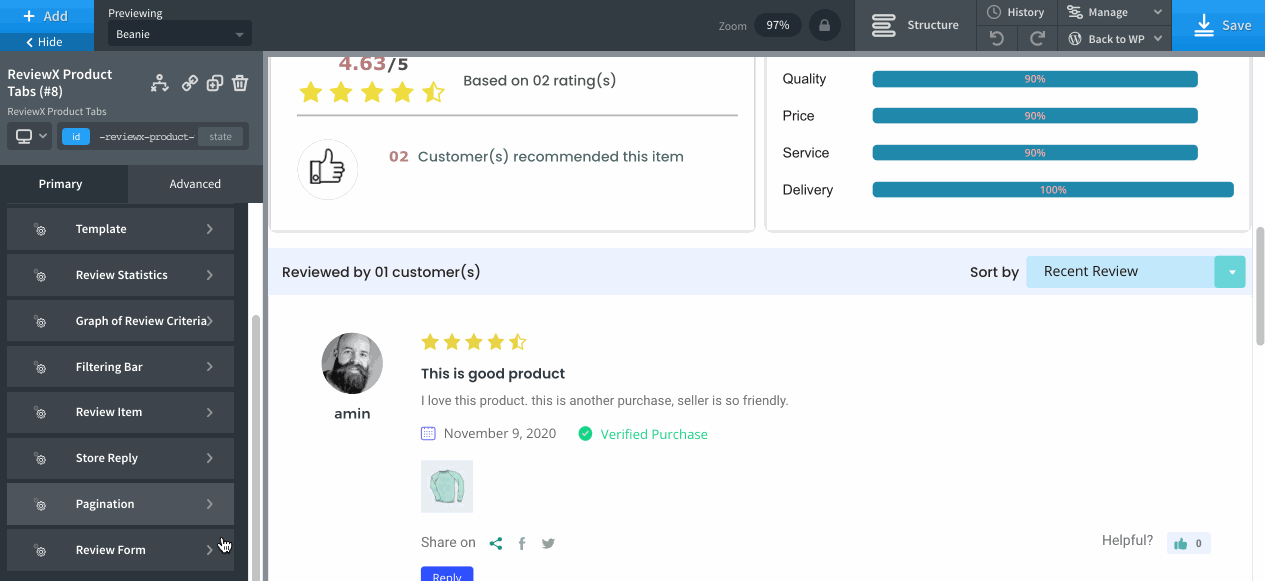
Step 8. Review Form
Under the Review Form tab, different rating styles can be selected, with Rating Icon Color, Rating Icon Size, Recommendation Icon Color, Submit Button Typography, Submit Button Background Color & Radius can be edited.
After applying these settings you need to click ‘ Apply Param’ button at the bottom section, and finally click the ‘Save’ button at the top right postion of the template.
Having difficulties? Feel free to reach out to our Dedicated Support Team.


