


On popular e-commerce product pages with dozens or hundreds of customer testimonials, the standard widget layout places the review submission form at the very bottom of the page beneath all existing reviews. For returning customers or buyers clicking review reminder links on mobile devices, having to scroll through hundreds of reviews to reach the submission form creates friction and lowers conversion rates.
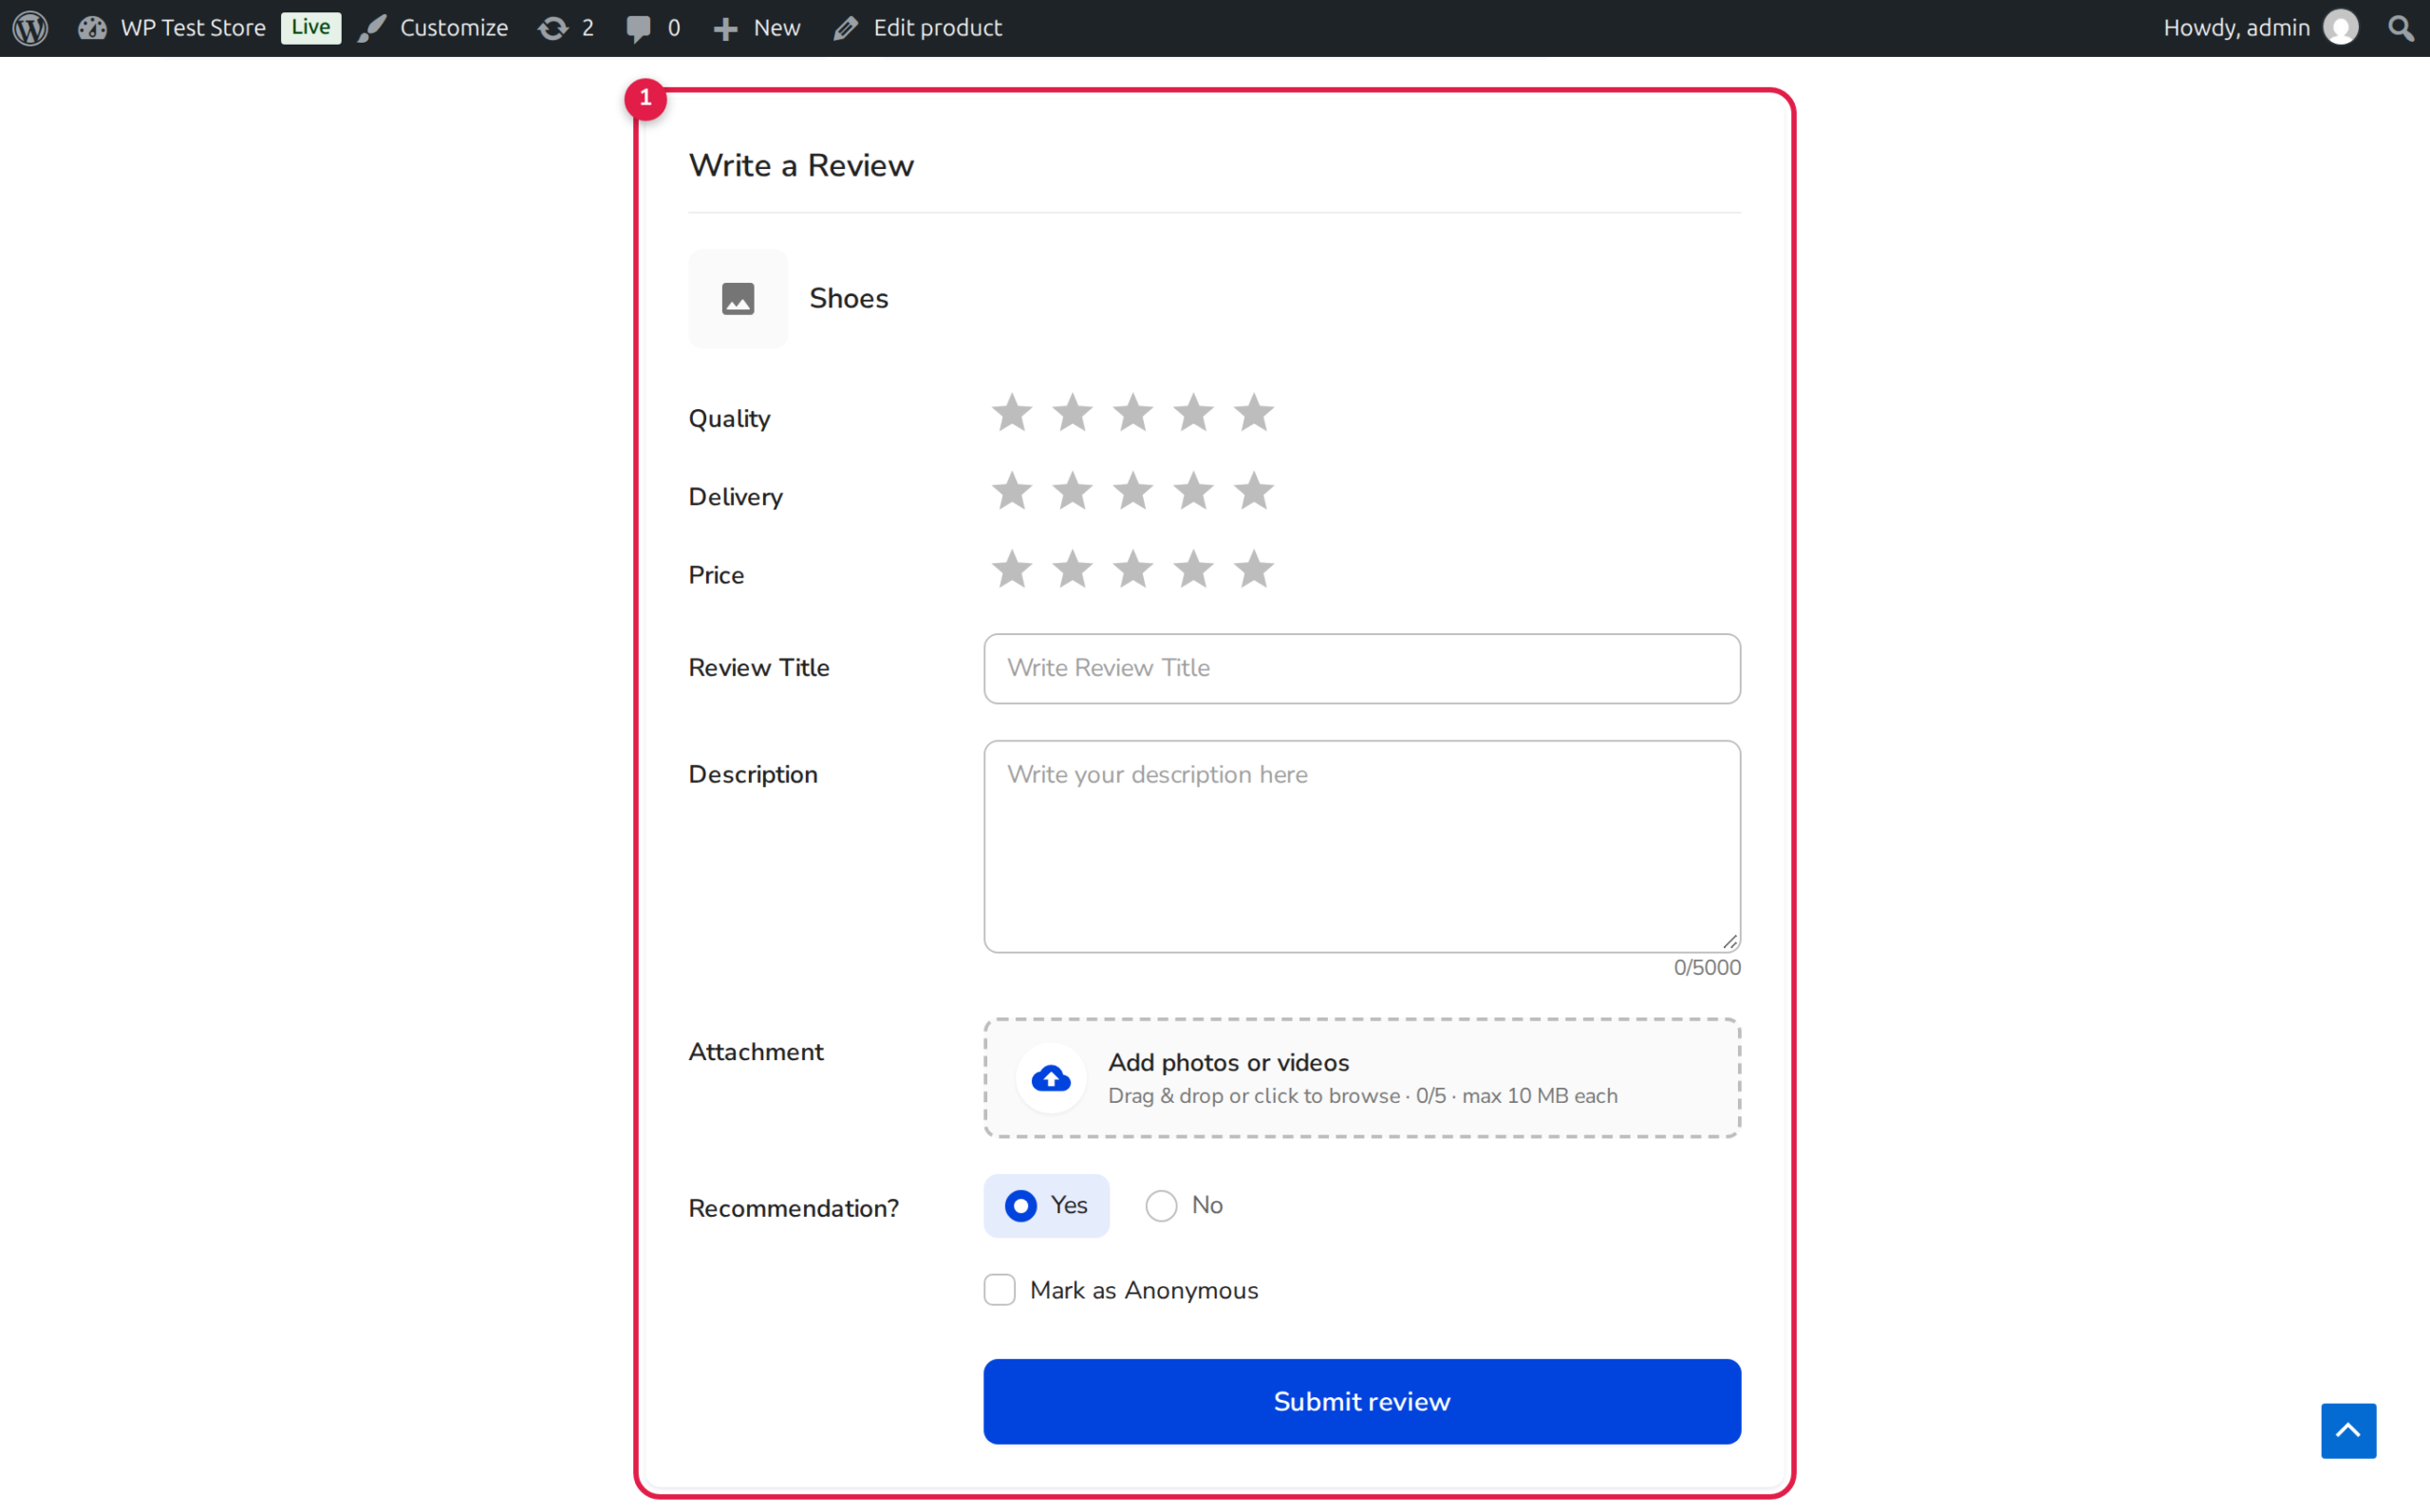
Thank you for reading this post, don't forget to subscribe!ReviewX offers flexible layout options allowing store owners to position the review submission form prominently before the review list, ensuring instant access for customers eager to share their feedback.
Mobile Optimization Tip
Mobile shoppers account for over 70% of e-commerce traffic. Placing the review form above the review list removes infinite scroll barriers and increases review submission rates by up to 35% on mobile devices.
Methods to Display the Review Form Before the Review List
ReviewX provides three seamless methods to achieve this layout depending on your theme and page builder setup:
Method 1: Modular ReviewX Shortcodes (Recommended)
ReviewX includes dedicated shortcodes that allow you to decouple the review form from the review list and place them anywhere on your page:
[rvx-review-form product_id=”123″]
<!– Place Review List Second –>
[rvx-review-list product_id=”123″]
If placed inside a custom WooCommerce Single Product template, omit the product_id attribute and ReviewX will automatically detect the current product ID dynamically:
[rvx-review-list]
Method 2: Elementor & Divi Theme Builder Widgets
If you build your product pages using Elementor Pro or Divi Theme Builder:
- Open your Single Product Template in Elementor or Divi.
- Locate the ReviewX widget elements in the left panel: ReviewX Form and ReviewX List.
- Simply drag the ReviewX Form widget into a section or column positioned directly above the ReviewX List widget.
- Click Update to deploy your custom template live.
Method 3: CSS Flexbox Reordering (Zero PHP Modification)
If your store uses the default WooCommerce product tabs and you prefer not to edit templates or shortcodes, you can reorder the container elements using modern CSS Flexbox:
.rx-review-wrapper {
display: flex;
flex-direction: column;
}
.rx-review-form-container {
order: 1;
margin-bottom: 30px;
}
.rx-review-list-container {
order: 2;
}
Comparison of Placement Approaches
| Approach | Best For | Advantages |
|---|---|---|
| Form First (Before List) | High review volume, mobile-first stores, landing pages | Maximizes review submissions by removing scroll fatigue. |
| List First (Default) | New stores with few reviews, desktop-heavy audiences | Allows shoppers to read existing reviews before deciding to submit feedback. |
Frequently Asked Questions
Does placing the form first break review submission validation?
No. The ReviewX form functions identically regardless of where it is positioned on the page. All criteria sliders, photo/video uploads, and verified buyer checks execute seamlessly.
Can I keep the form collapsed until the customer clicks a button?
Yes. ReviewX includes an accordion toggle option in the widget settings that presents a stylish “Write a Review” button which smoothly expands the form when clicked.
Can I display the review form in a separate custom tab?
Yes. Using a WooCommerce custom tab plugin or custom code snippet, you can place the [rvx-review-form] shortcode into a dedicated tab named “Write a Review” while keeping existing reviews in the “Reviews” tab.


