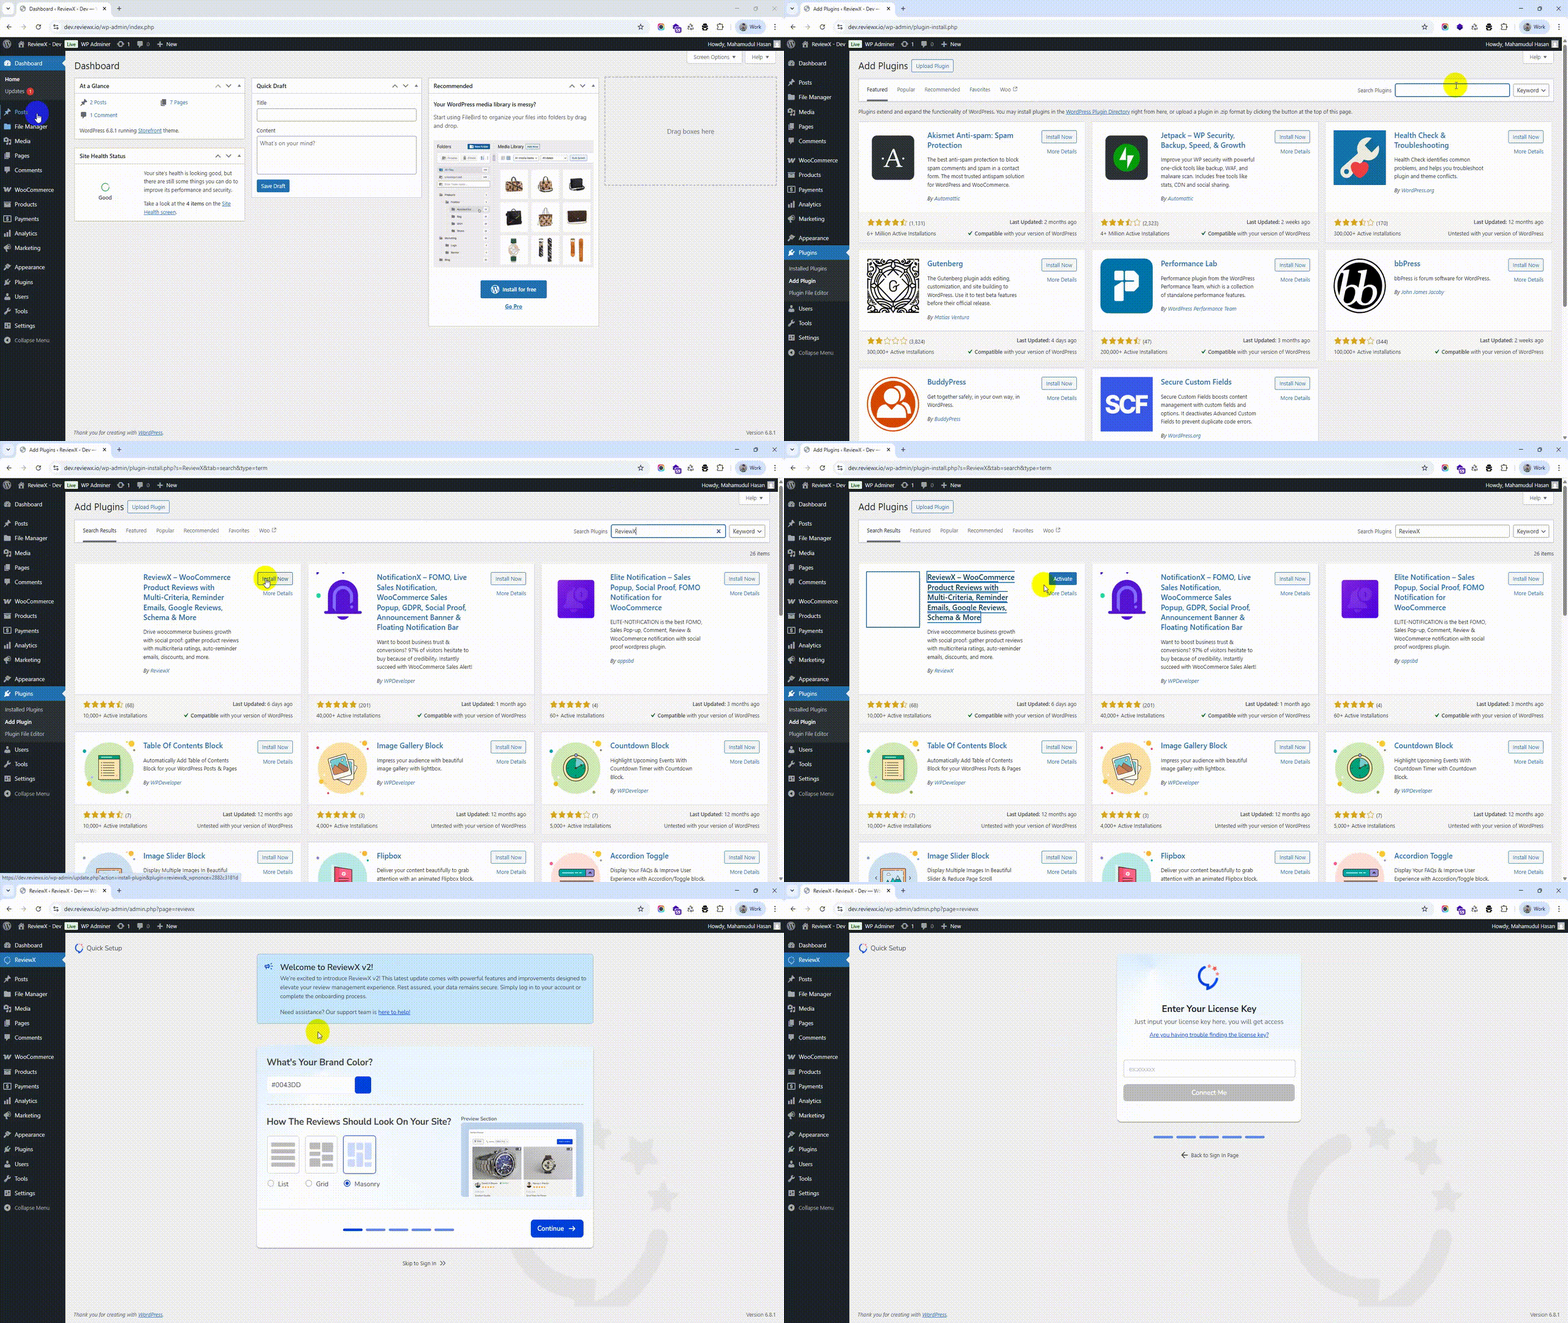
ReviewX Pro V2 comes with a simplified installation process. No need for a separate plugin or manual uploads — just install the free plugin from the WordPress repository and connect using your license or credentials. Everything else is taken care of automatically.
✅ Step 1: Install ReviewX Plugin
Go to your WordPress dashboard and install ReviewX directly from the plugin repository.
-
Navigate to Plugins → Add New
-
Search for “ReviewX“
-
Click Install Now, then Activate

🔑 Step 2: Log In with License Key or Credentials
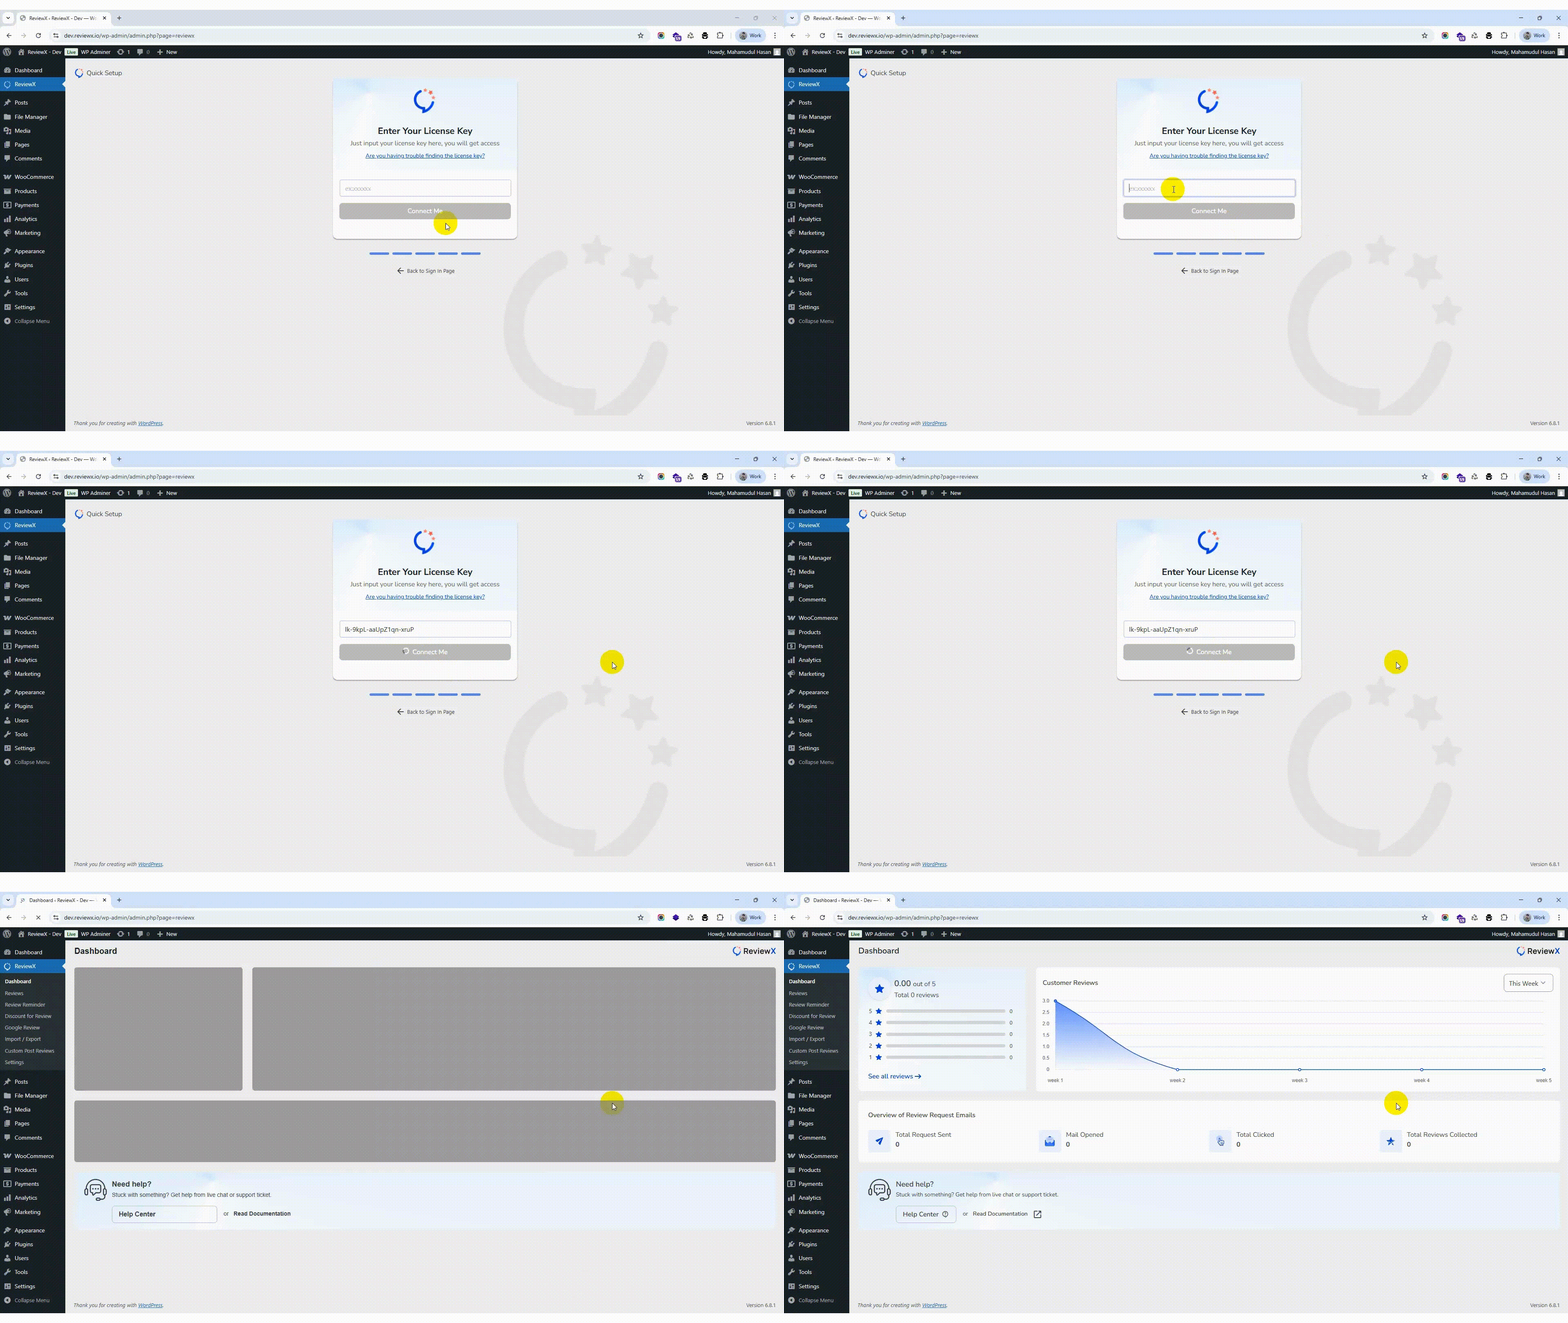
Once activated, you’ll be automatically redirected to the ReviewX Login Page within your WordPress dashboard.
You can log in using either:
-
Your License Key (You’ll get your license key on client portal)
-
Your Client Portal Email & Password

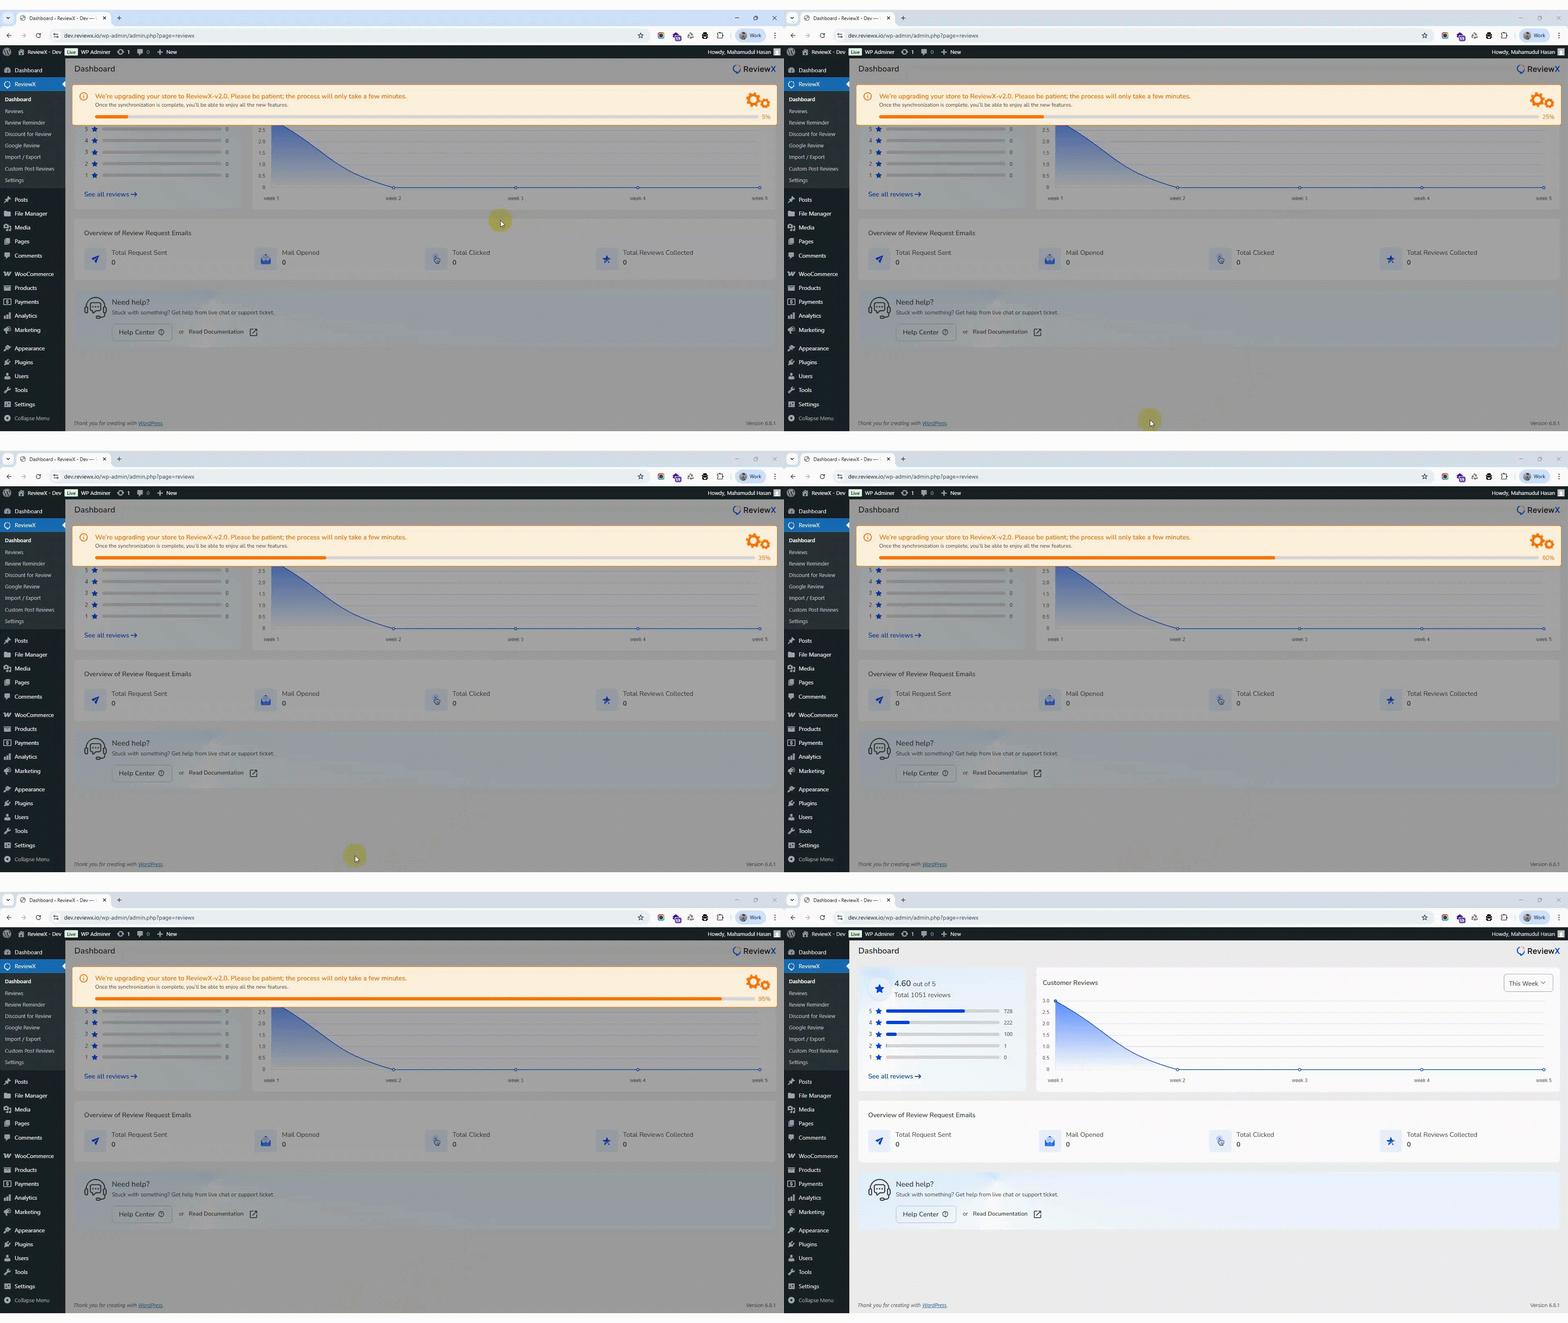
🔄 Step 3: Sync Process Begins Automatically
Once you’re logged in successfully:
-
The plugin will start syncing your premium features and license in the background.
-
This process takes around 5–10 minutes.
💡 You can continue using your dashboard — the sync will complete automatically.

🎉 Step 4: You’re All Set!
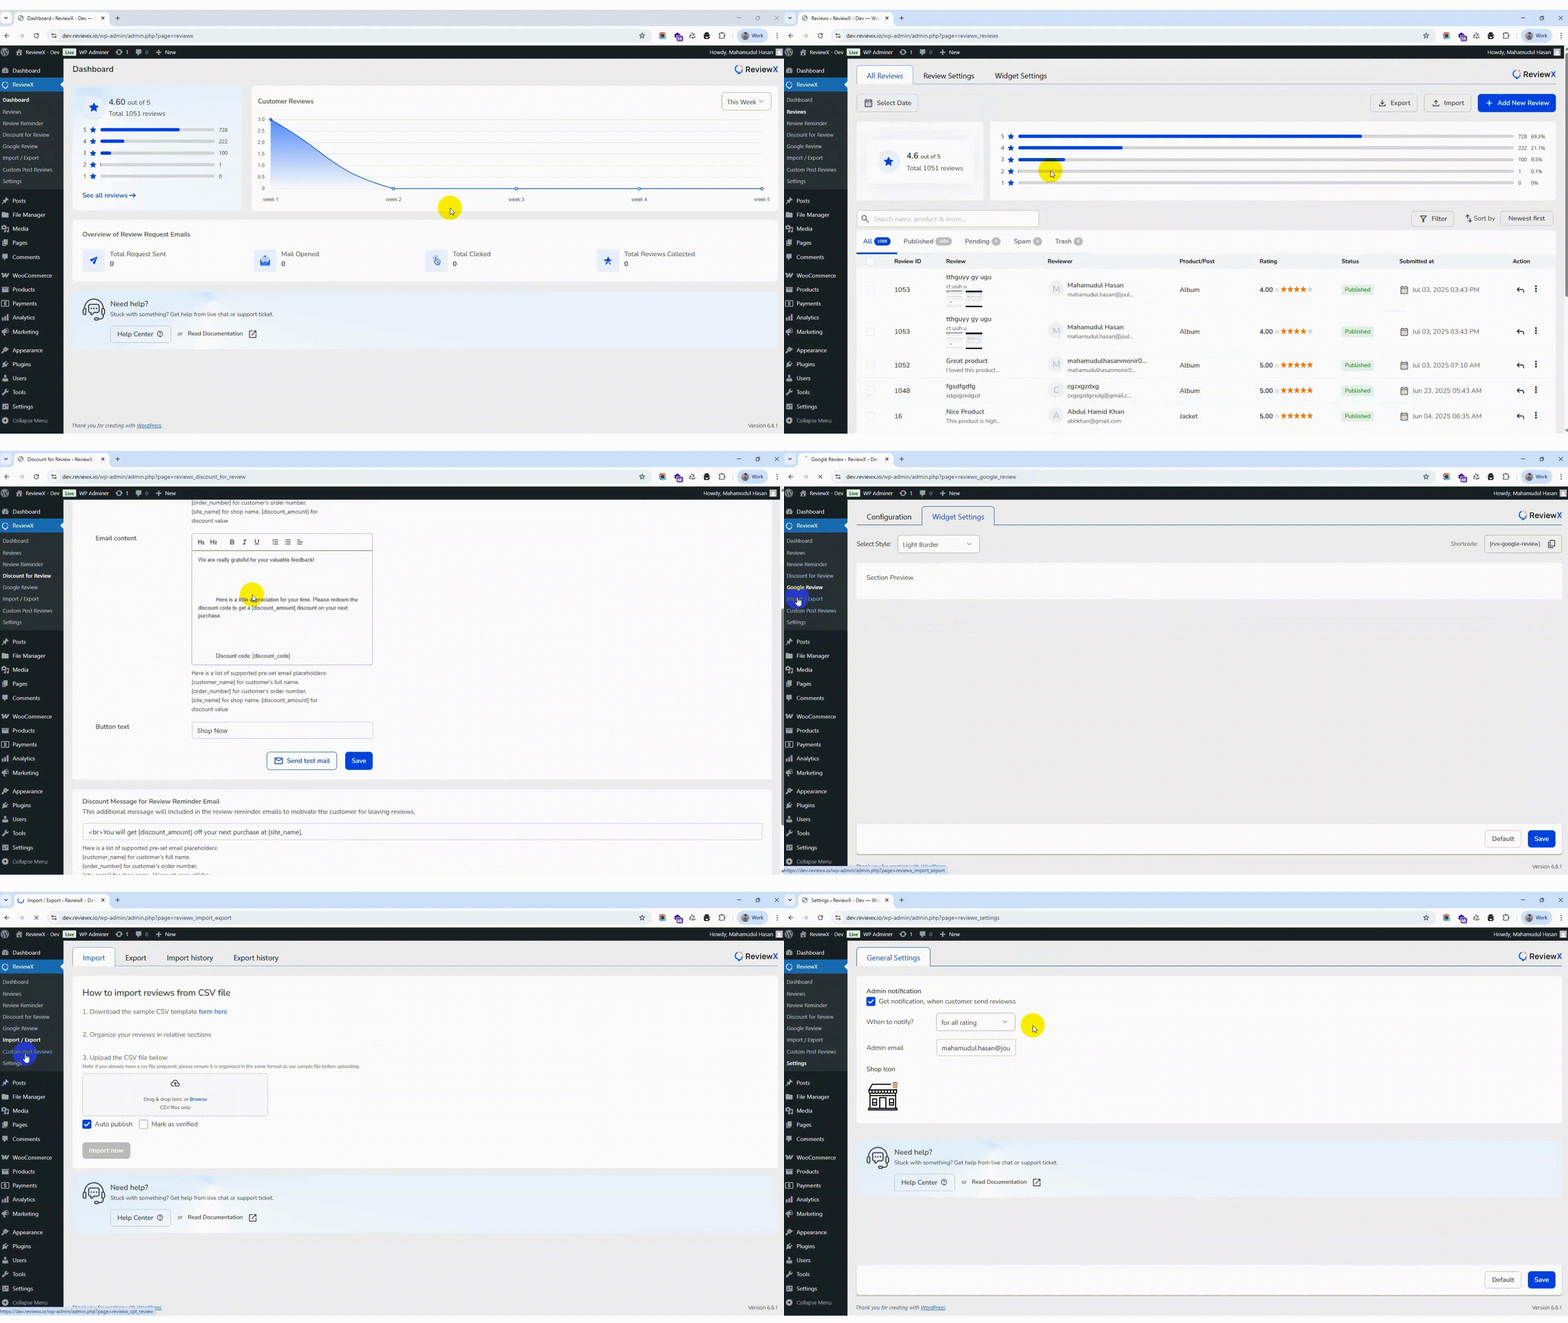
After the sync is complete, ReviewX Pro will be fully activated. You’ll now have access to:
-
Multi-criteria review system
-
Enhanced analytics
-
Email automation and more!

🔁 Need Help?
If you get stuck at any point or face delays during syncing, feel free to contact our Dedicated Support Team for fast assistance.


