

Having a custom design for your WooCommerce store can significantly improve its performance. If you are using WordPress hosting to build your WooCommerce store, the popular drag-and-drop website builder Elementor can be the best solution for you. Set up a brand new eCommerce store with Elementor by following this detailed guide to creating a beautiful online store without any coding.
Why Create A WooCommerce Store With Elementor?
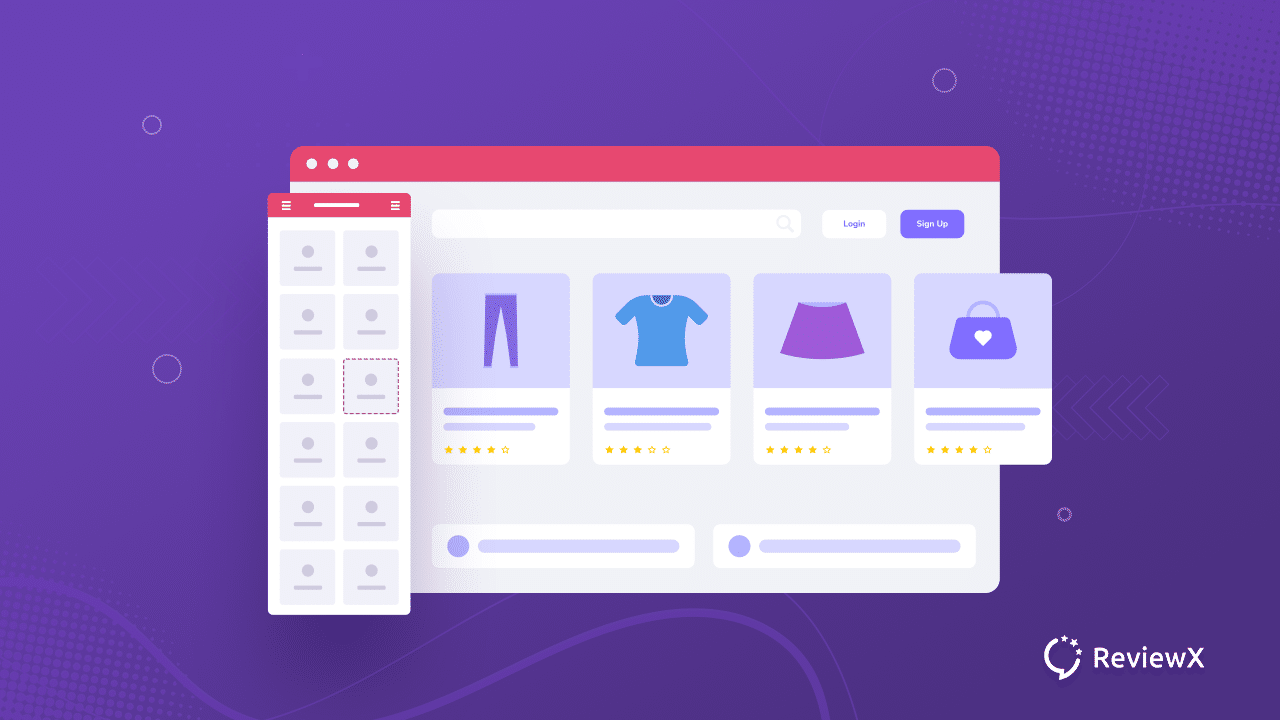
The first thing to keep in mind while creating a WooCommerce store is to make it appealing to your site visitors. To keep your site visitors engaged and returning, you’ll need a beautifully designed WooCommerce store. Otherwise, you risk losing a number of potential consumers right away. You can immediately solve all of these issues using Elementor page builder, which comes with tons of amazing widgets and ready website templates for your eCommerce store. Here’s why you should create your WooCommerce store with Elementor:
👉 You will need zero coding knowledge to use Elementor page builder to build an eCommerce store from scratch.
👉 With Elementor’s drag & drop editor, you can use 90+ amazing widgets to create your WooCommerce store instantly.
👉 You can get access to more than 300+ highly responsive designer templates and quickly create a beautiful eCommerce shop website just by inserting these.
What You Will Need To Create A WooCommerce Store With Elementor?
Before you start using WordPress to build an online store with Elementor, you need to install and activate some necessary plugins in your WordPress eCommerce website. Let us find out what you might need before you get started:
- WooCommerce: To add eCommerce functionality in your WordPress website, install WooCommerce plugin.
- Elementor: If you do not want to use codes to build your eCommerce store, then you will need to use the WordPress page builder Elementor.
- Elementor Pro: For the best customization options, you should get Elementor PRO to create your eCommerce store on WordPress without coding.
How To Set Up Your WooCommerce Store On WordPress?
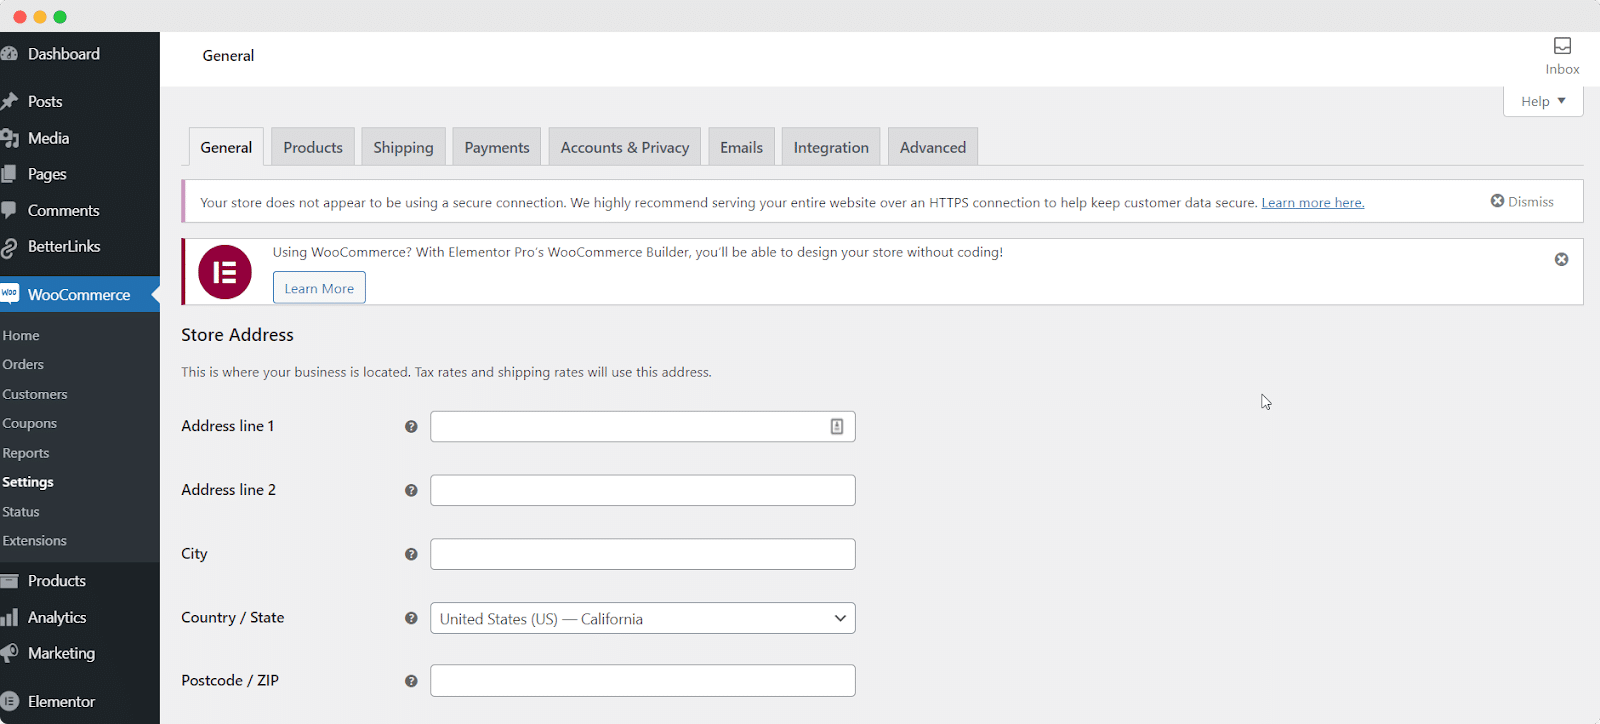
After you have successfully installed the WooCommerce plugin on your WordPress website, you need to set up your online store. You will find a WooCommerce installation wizard and go through the process step by step. First, give all the necessary information about your online store’s location, postal code details and others.
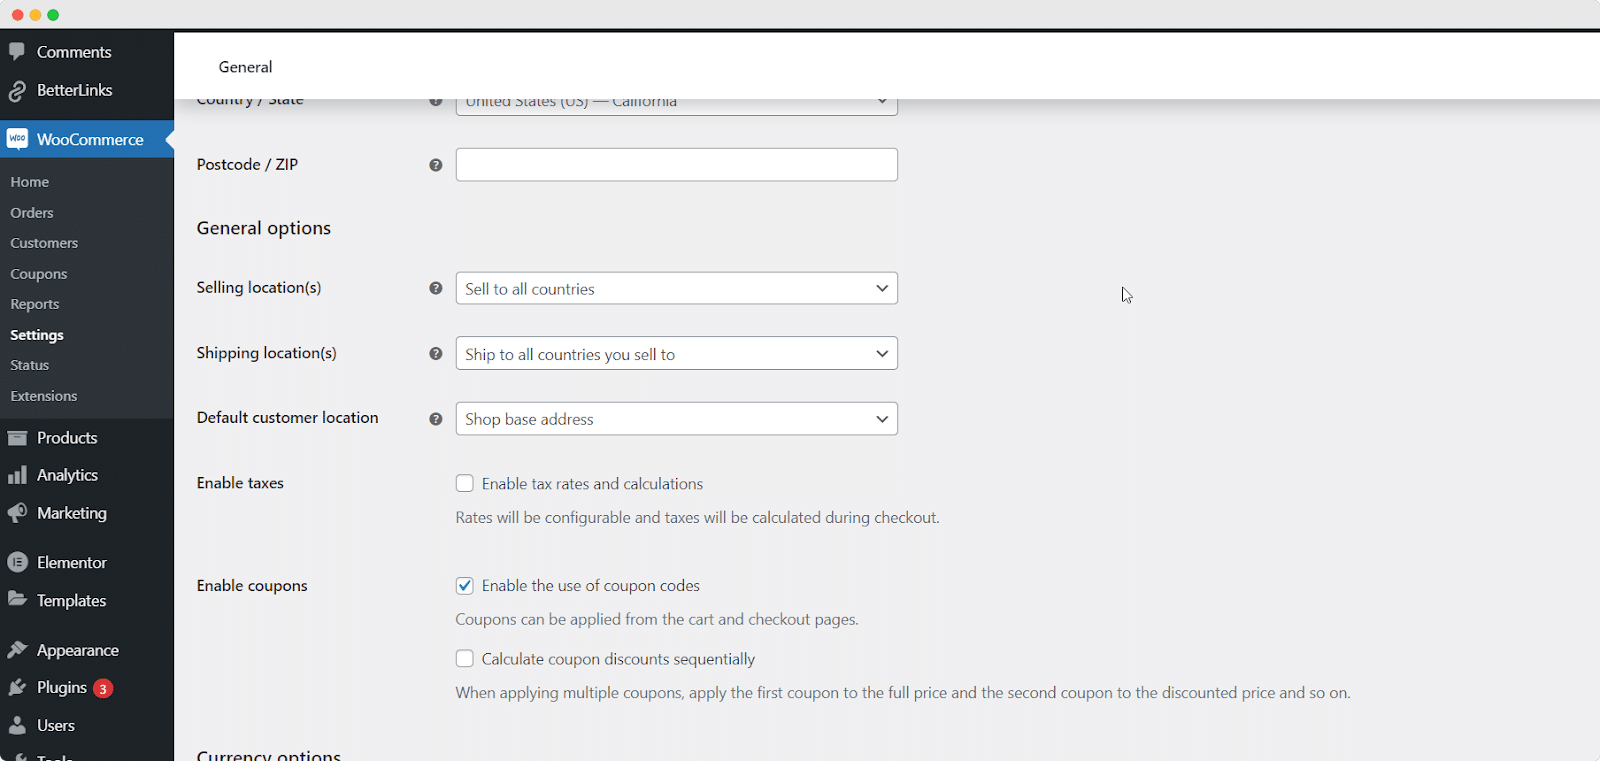
Then you need to give payment details of your eCommerce store. Starting from shipping location to enabling coupons, you can do all this work from one place.
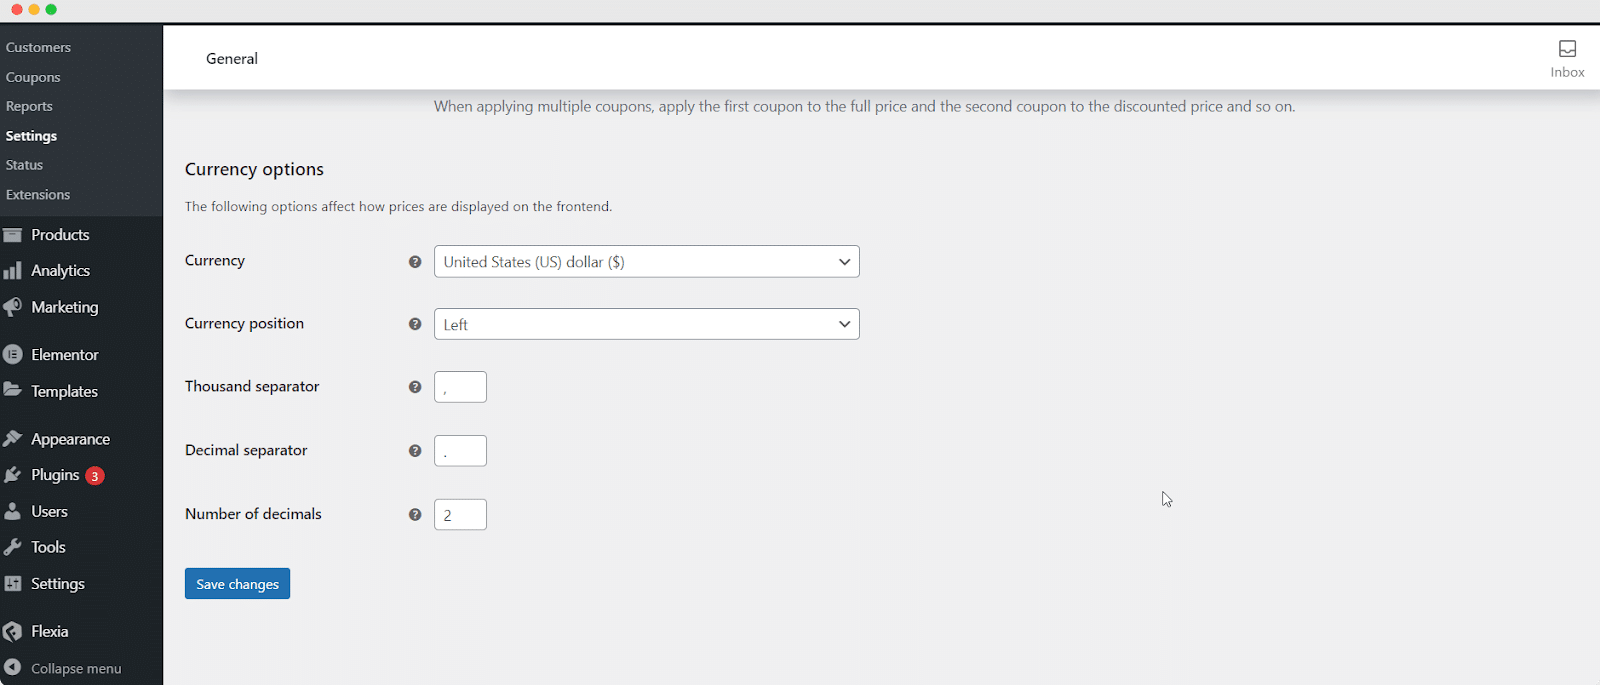
Next, you need to give the currency details of your online store because based on the information prices of your products will be shown in the store.
How To Add Products To Your WooCommerce Store
If you have already installed the WooCommerce plugin on your WordPress site, it’s time to set up your products for a WooCommerce store. To start with, navigate to Products → Add New and add your first eCommerce product.
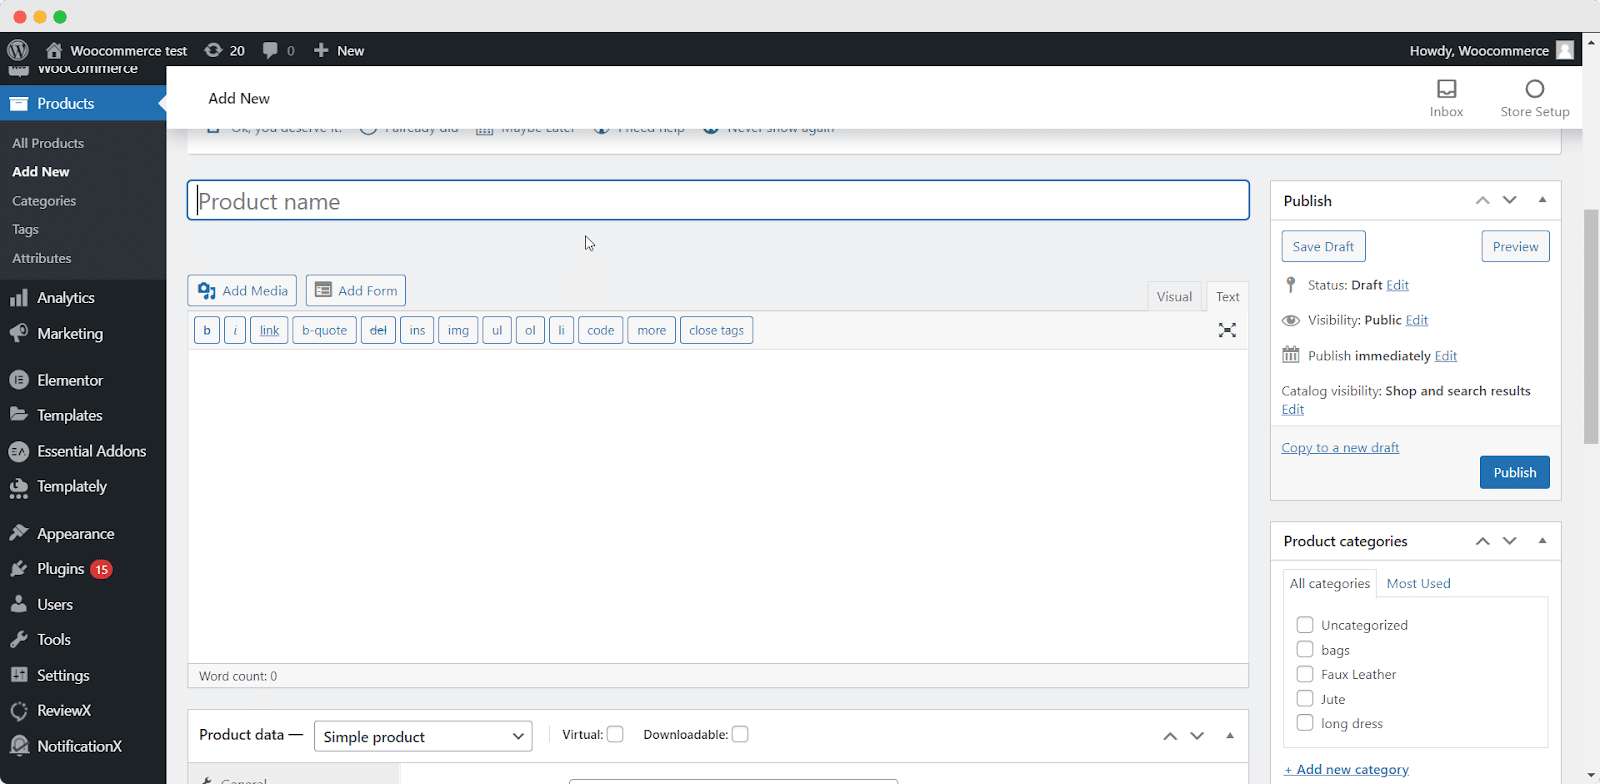
Step 1: Provide Important Information To Your Product
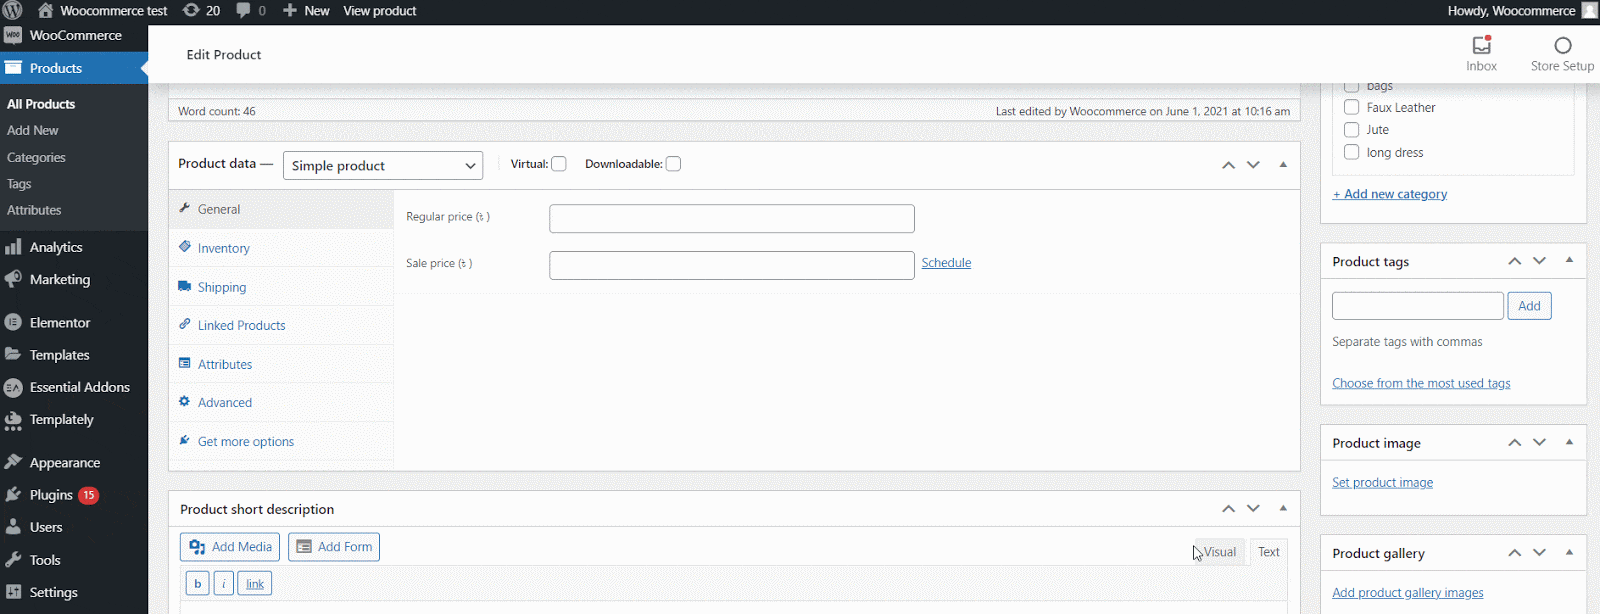
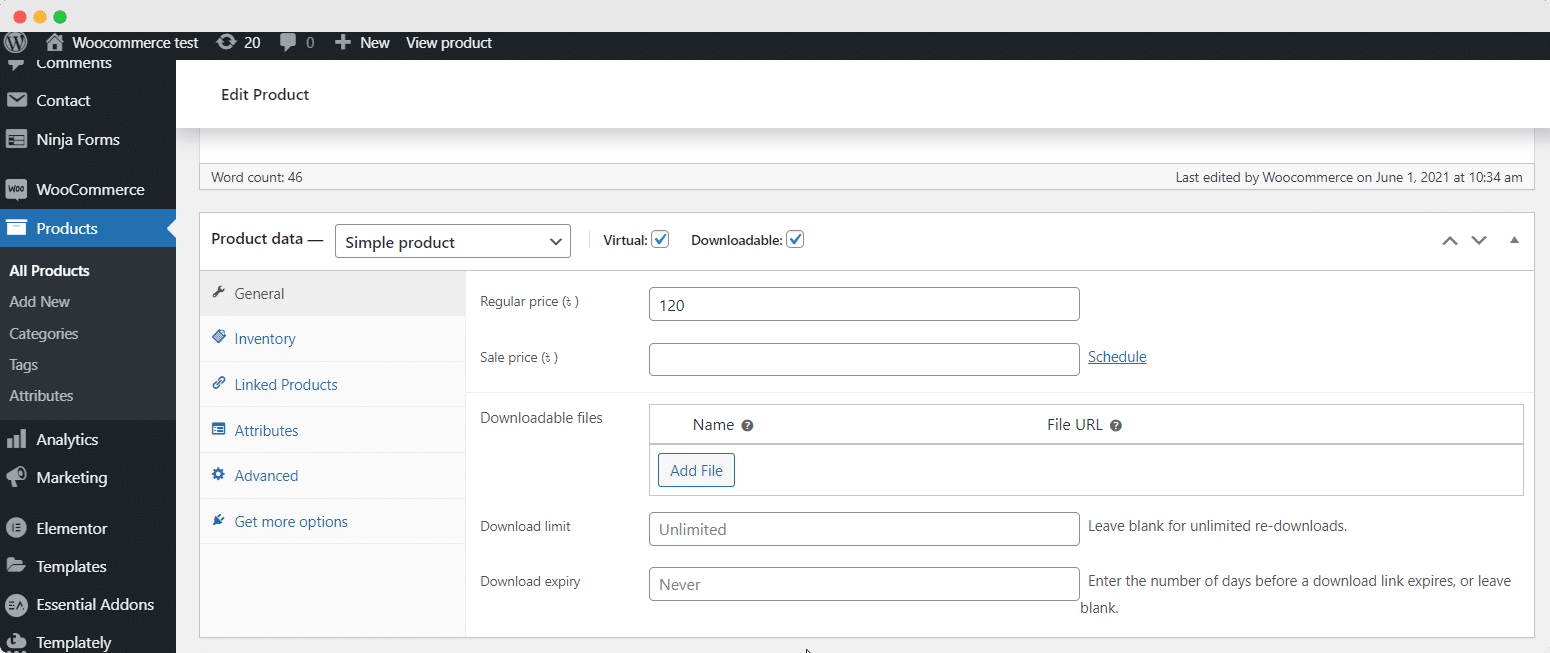
When you scroll down you will find the ‘Product Data’ section where you need to provide all the detailed information about your product. Choose what kind of product you are going to upload. Check the boxes if the product is virtual or downloadable. After that, you can move on to the ‘General’ tab to provide the price details.
In terms of digital products, you need to upload the downloadable file. You can set the download limit to unlimited. You can set the download expiry date if you want.
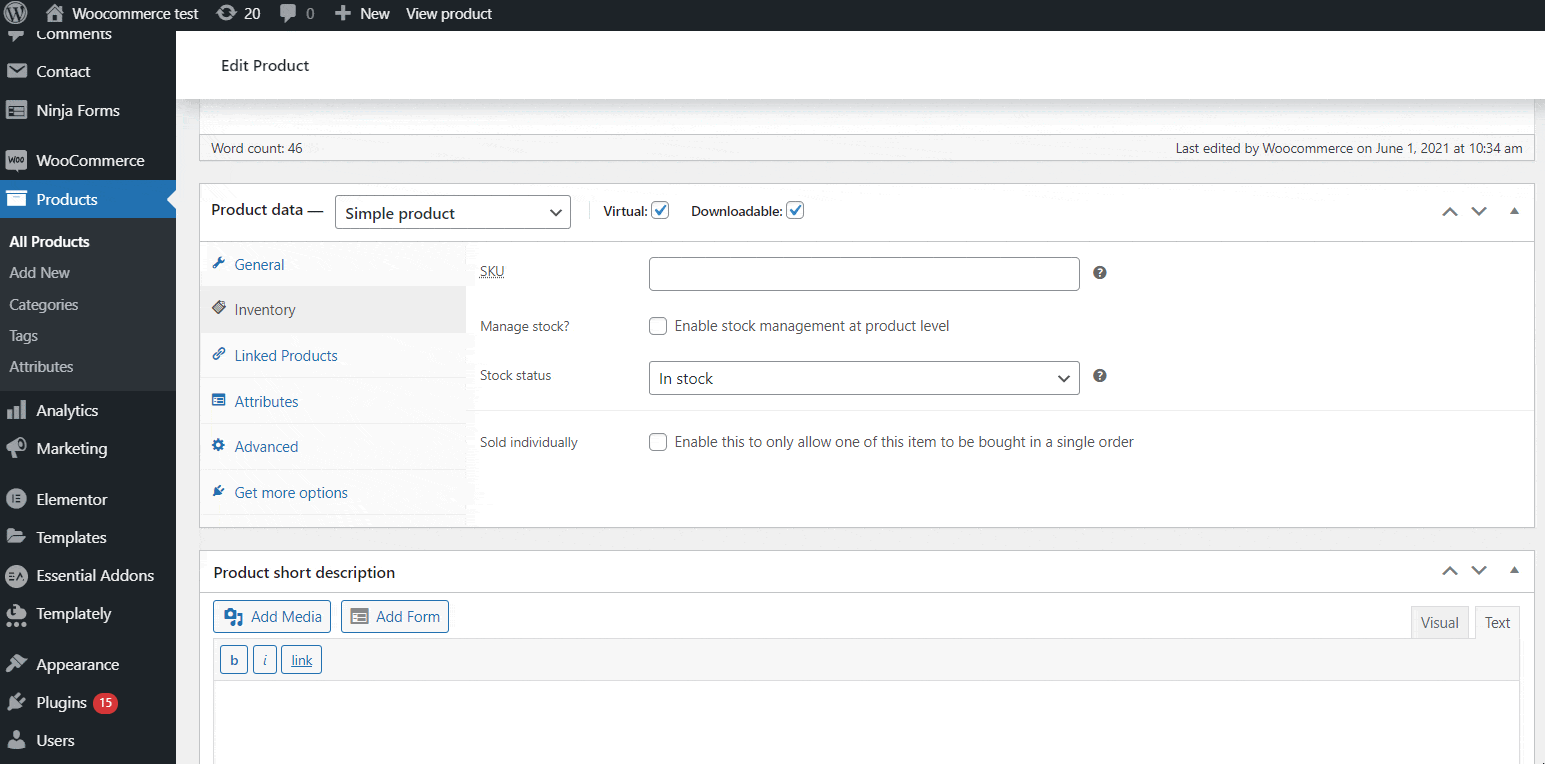
Then, on the ‘Inventory’ tab, you must enter product SKUs, which are unique identifiers for each product. This tab allows you to customize the stock information.
There are other tabs that might come to your use as well. In the ‘Shipping tab’, you can offer information about the product’s weight, dimensions, and delivery class. You can add links to upsell or cross-sell products from the ‘Linking Products‘ tab. This functionality will help you grow your sales in the long run.
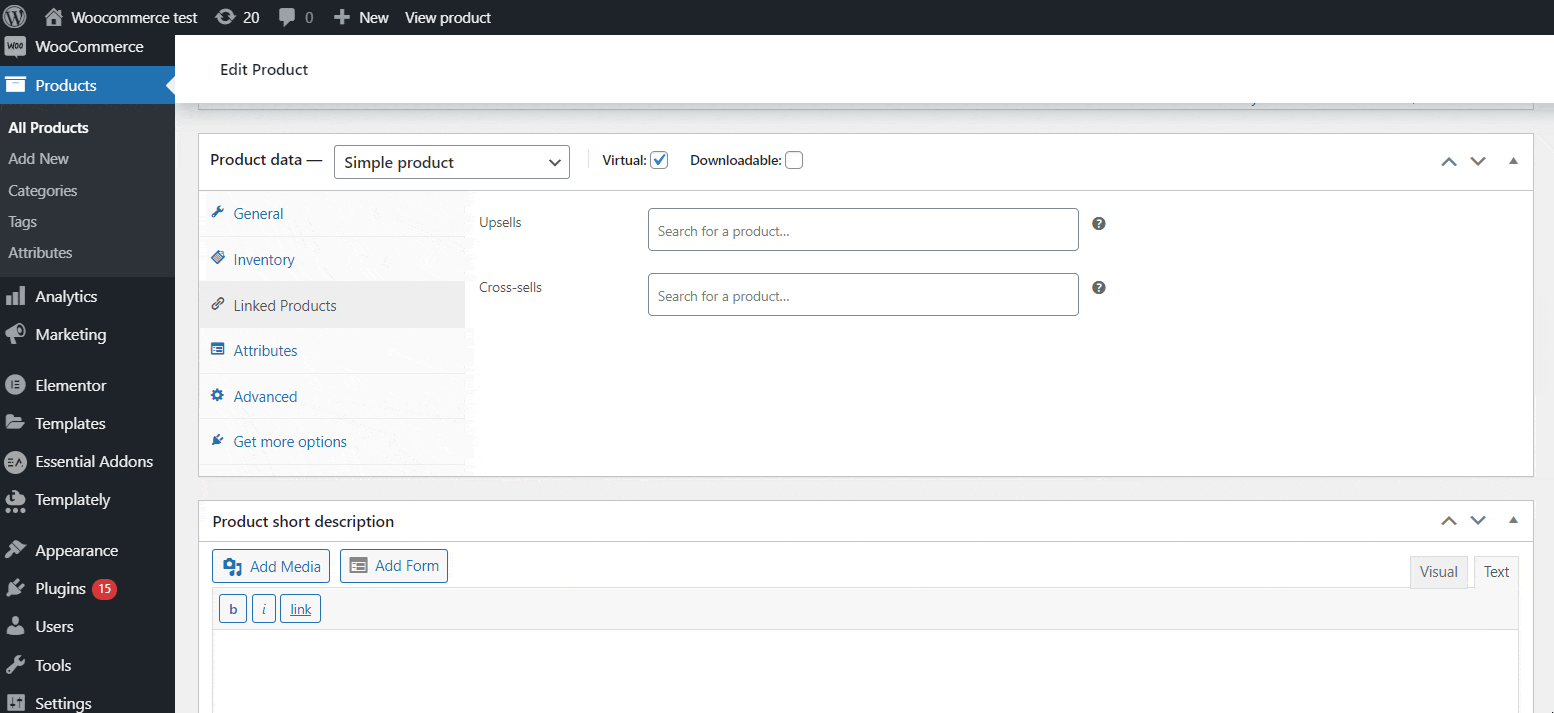
If you want, you can enter a personalised purchase note from the ‘Advanced’ option. This option also allows you to enable or disable product reviews. More handy extensions can be found under the ‘Get More Options’ tab.

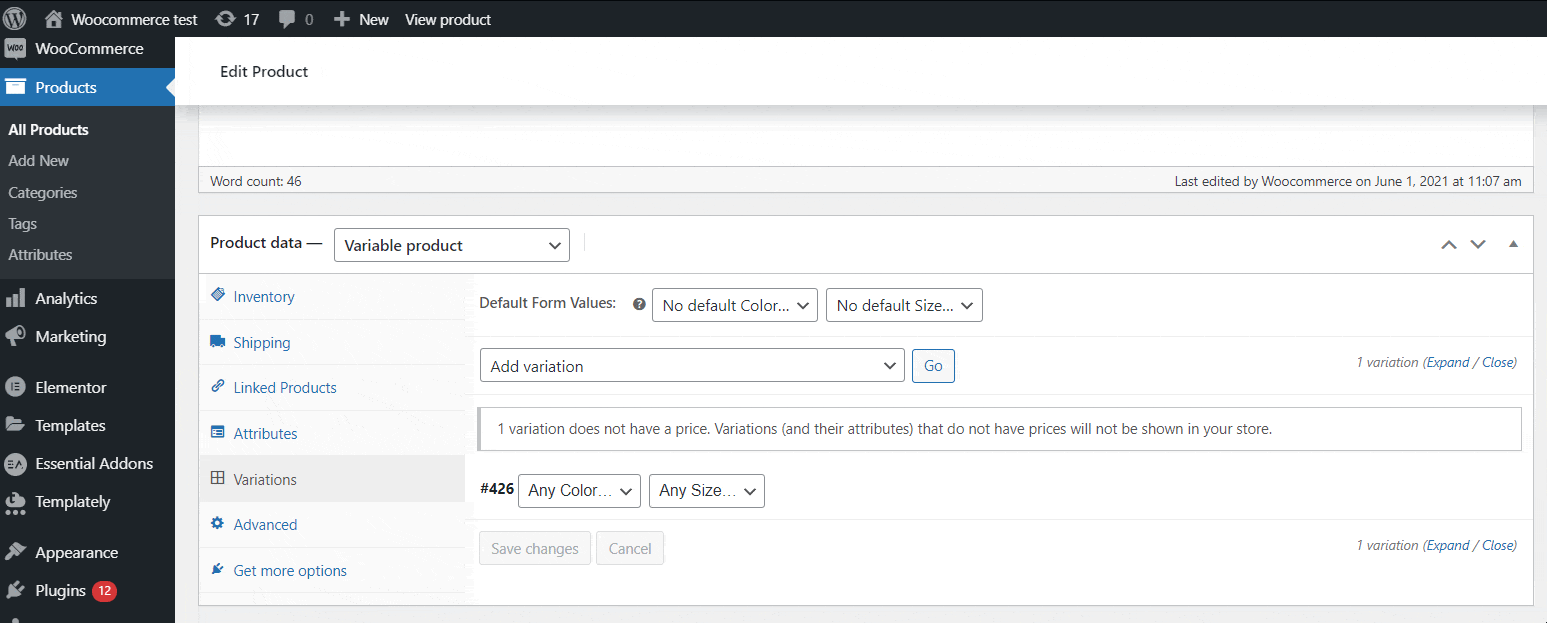
Step 2: Add Product Attributes And Variables
Your products might differ based on their size, colour or other attributes. From the ‘Attributes’ tab, you can add various qualities of your product. With this simple option, you can display to your consumers all of the many products they can choose from.
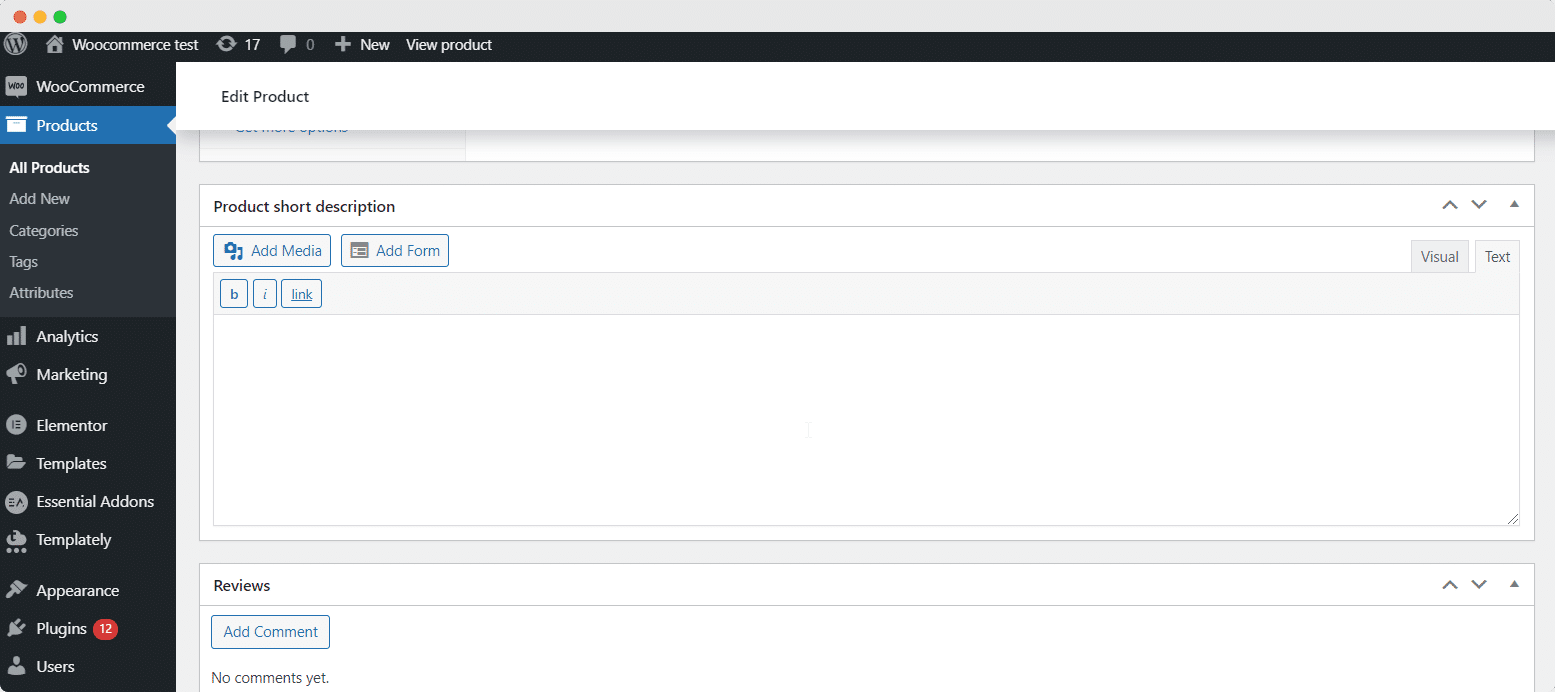
Step 3: Tailor Your Product Short Description
The next section is ‘Product Short Description’ where you need to give a concise description of the product. This description should include specific keywords and primary information about the product. The section will appear under the title of the product.
Next, you need to publish the product on your site. There are other options like product tag, product image or gallery that will come in handy to add more useful information about your products.
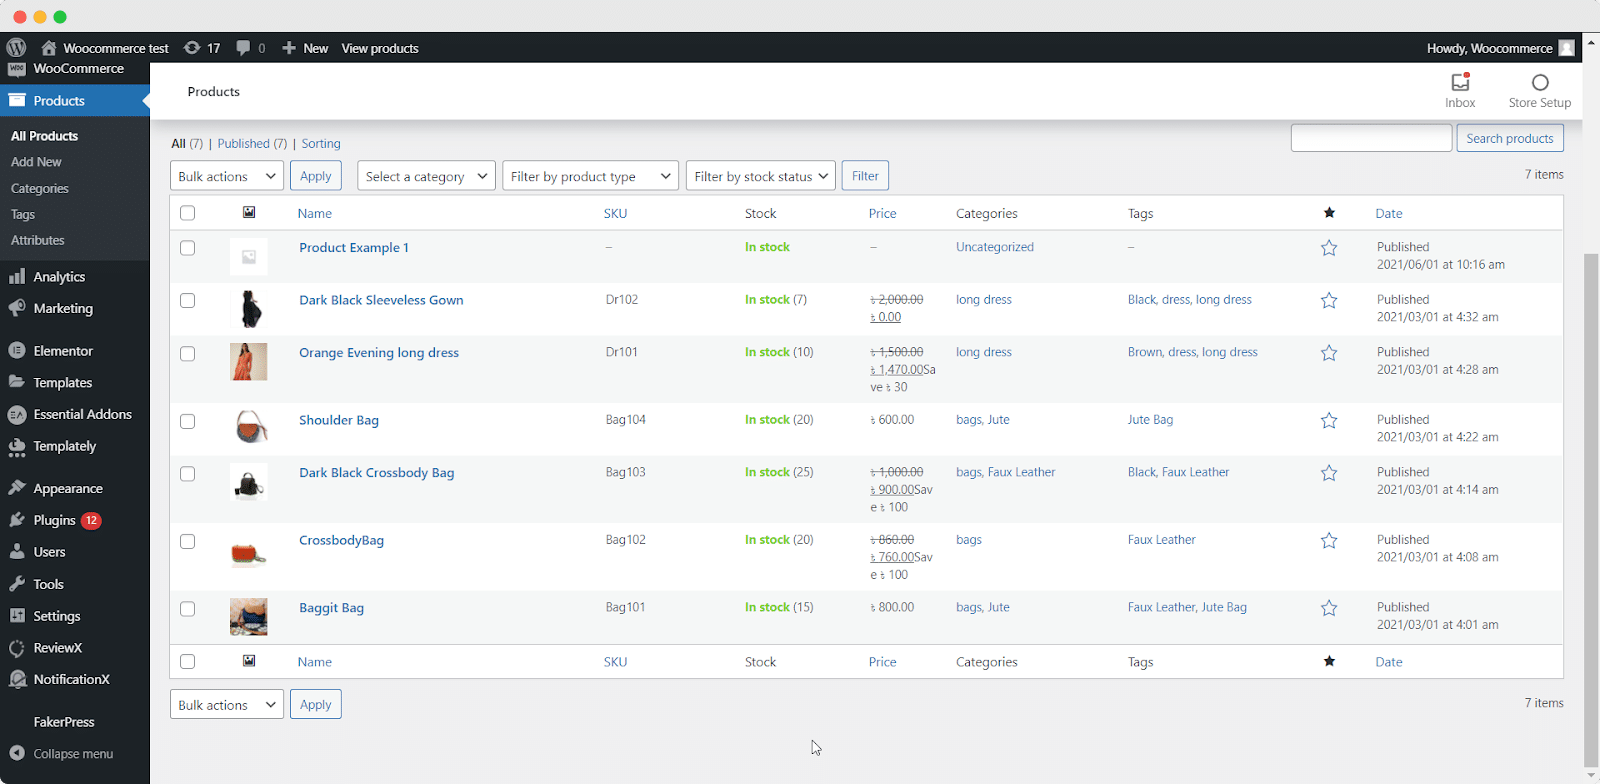
You can now repeat the process to add all the products to your WooCommerce store. As you have added all the products, this will look like the below picture:
How To Create Stunning WooCommerce Store With Elementor
As you might have created your WooCommerce products on your WordPress site already, it’s time to install and activate Elementor page builder. Follow the step by step guide to start using this amazing plugin easily.
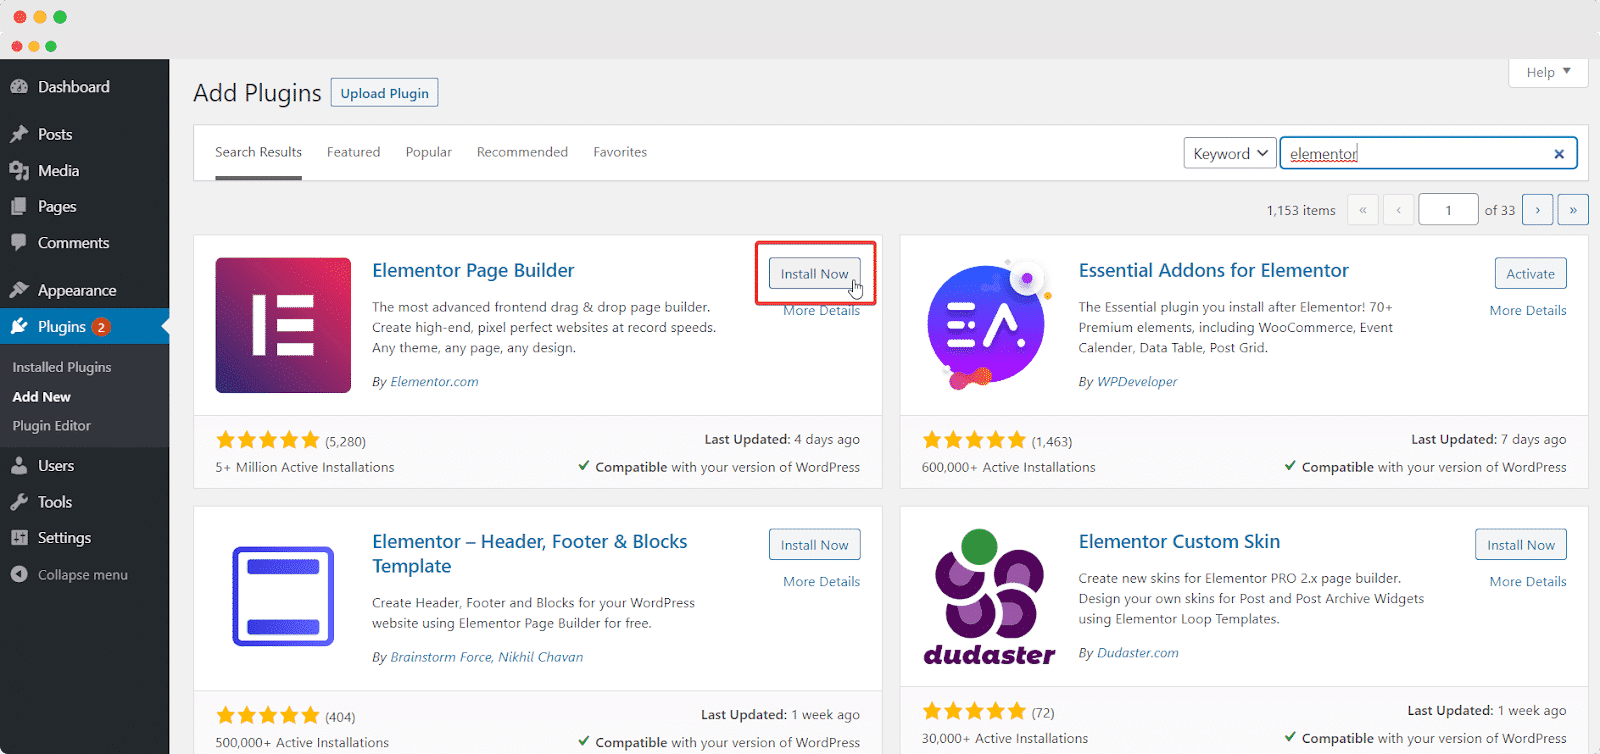
First, you need to search for ‘Elementor’ from your WordPress repository. Click ‘Install Now’ and then ‘Activate’ it on your site.
Before you start using Elementor to design your WooCommerce store, don’t forget to install and activate Elementor Pro to avail all the pre-built templates. These templates can give you versatile functionalities to add and your WooCommerce store will look new.
Step 1: Add Ready Elementor Templates To Your WooCommerce Store
You will find various product page templates in Elementor. You need to click on ‘Select Templates’ and then go to ‘Theme Builder’ from the WordPress menu bar. Click on the ‘Add New’ button and create a new page.
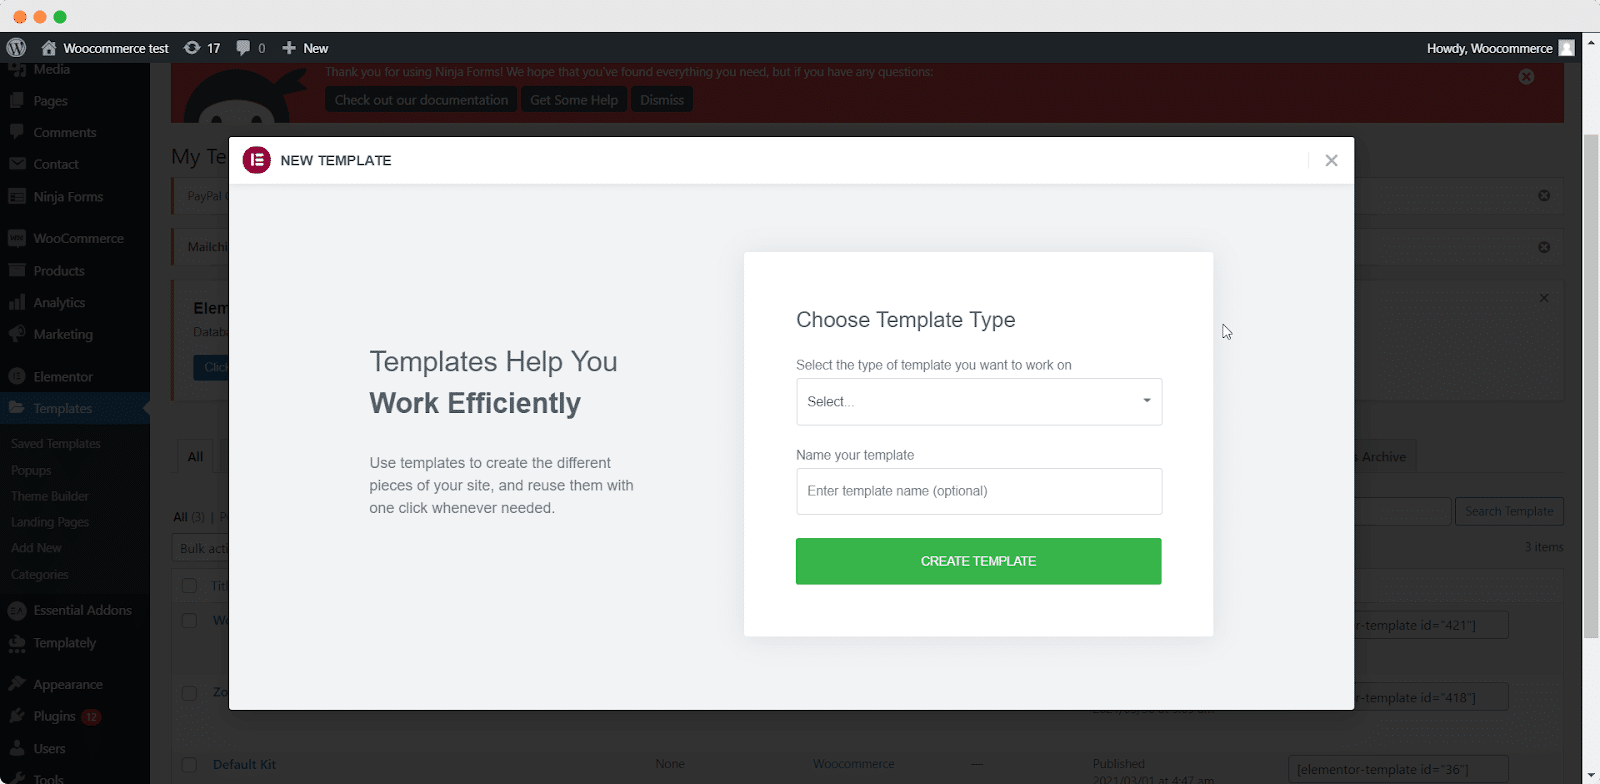
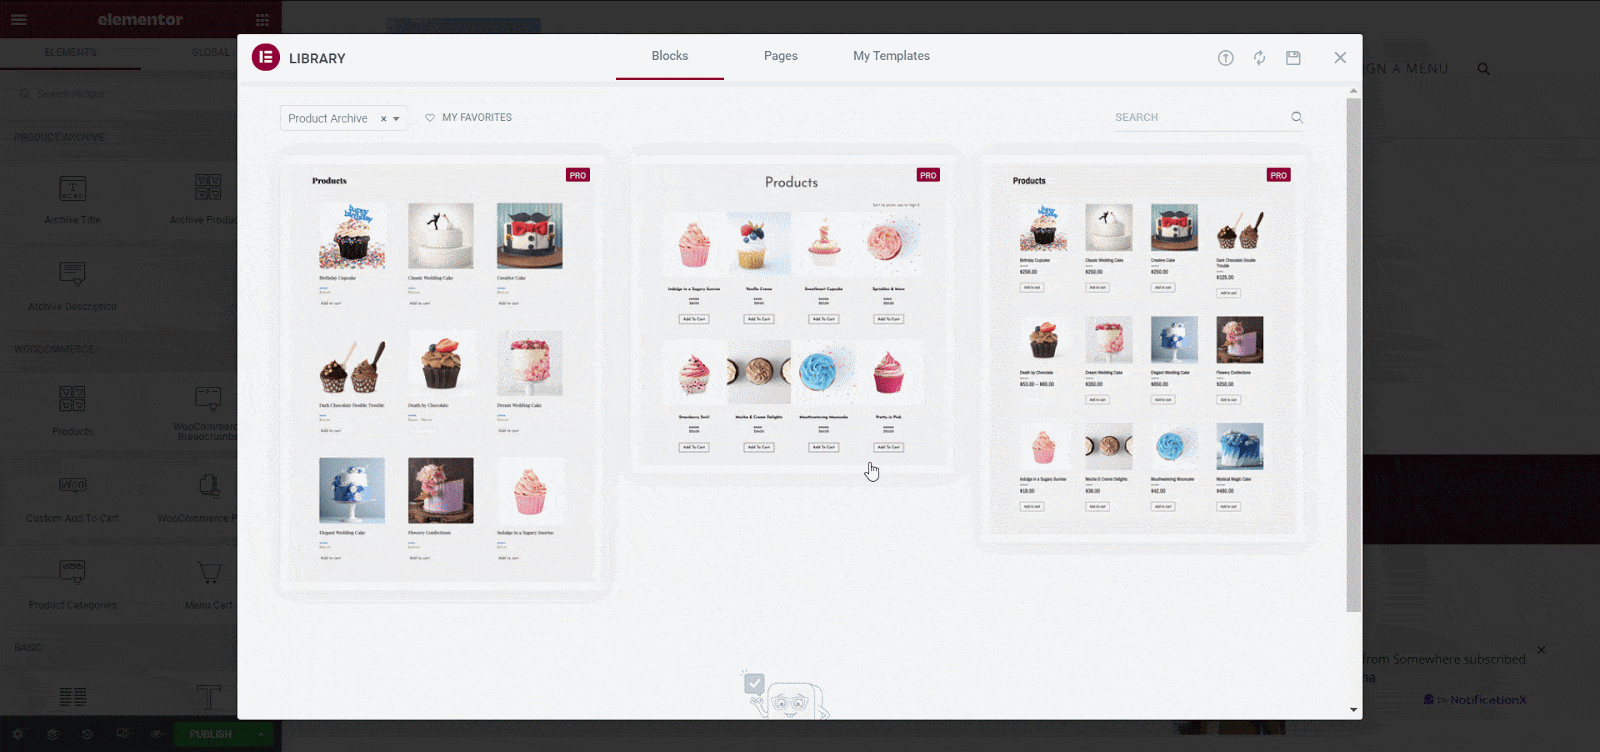
From this section, you can choose the template for product single page, landing page, product archive page etc. You can add a name and click on ‘Create Template’. A new popup will appear on your screen. You can choose any template from three types of product layouts. Click ‘Insert’ to add the layout to your WooCommerce store.
Step 2: Create WooCommerce Shop Page With Elementor
To start with the Elementor WooCommerce tutorial, you need to install and activate Elementor Pro as WooCommerce because the widgets included with Elementor WooCommerce Builder are premium widgets.
Then, from your WordPress Dashboard, go to Pages→ Add New and create a new page for your WooCommerce store. To access the Elementor Editor, click the blue ‘Edit With Elementor‘ button.
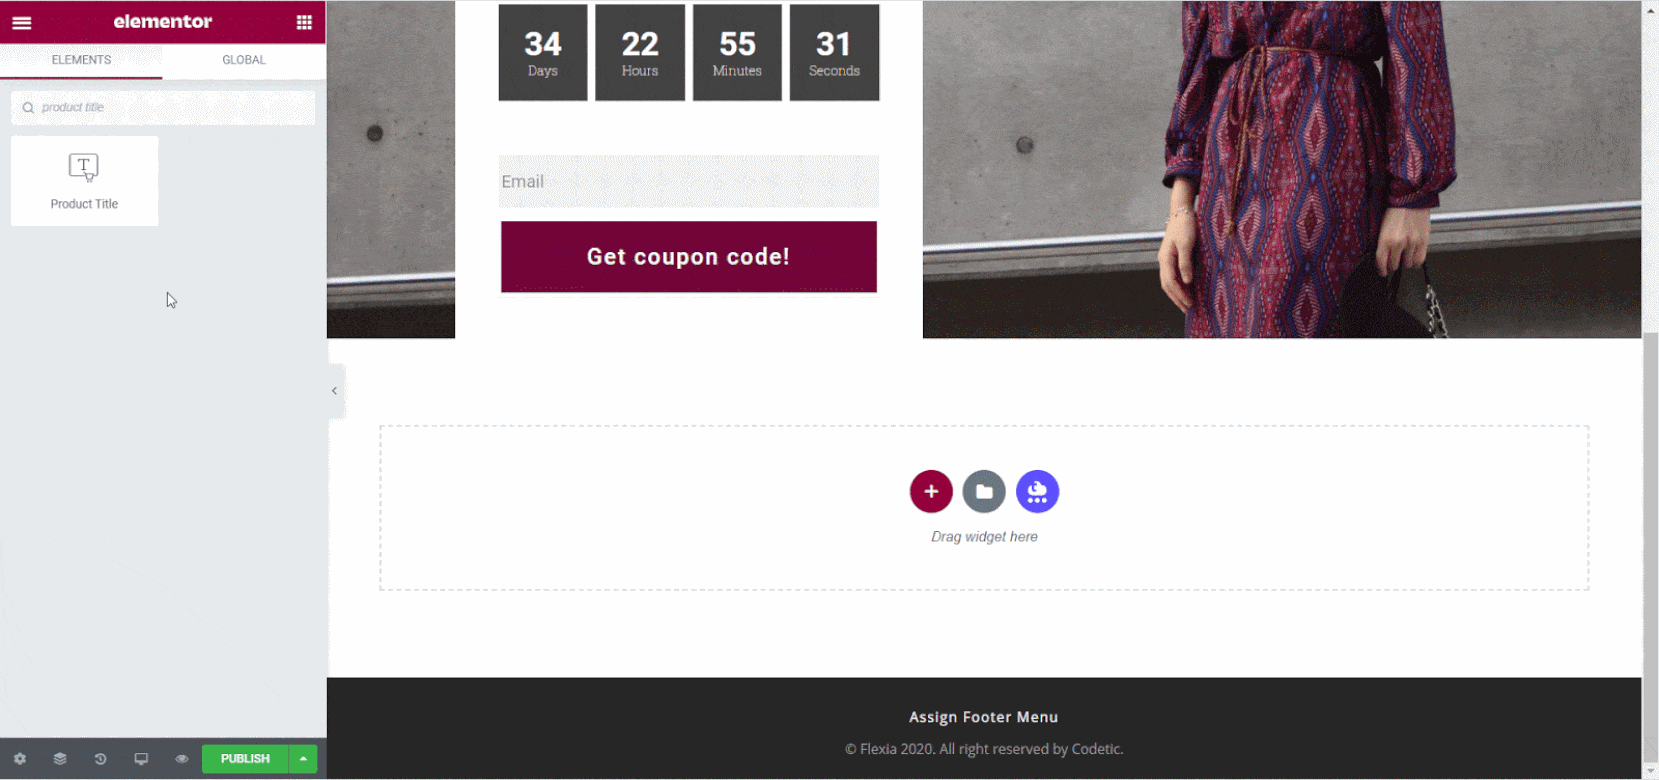
To create a new homepage for your store, you can drag and drop WooCommerce elements from the left side menu.
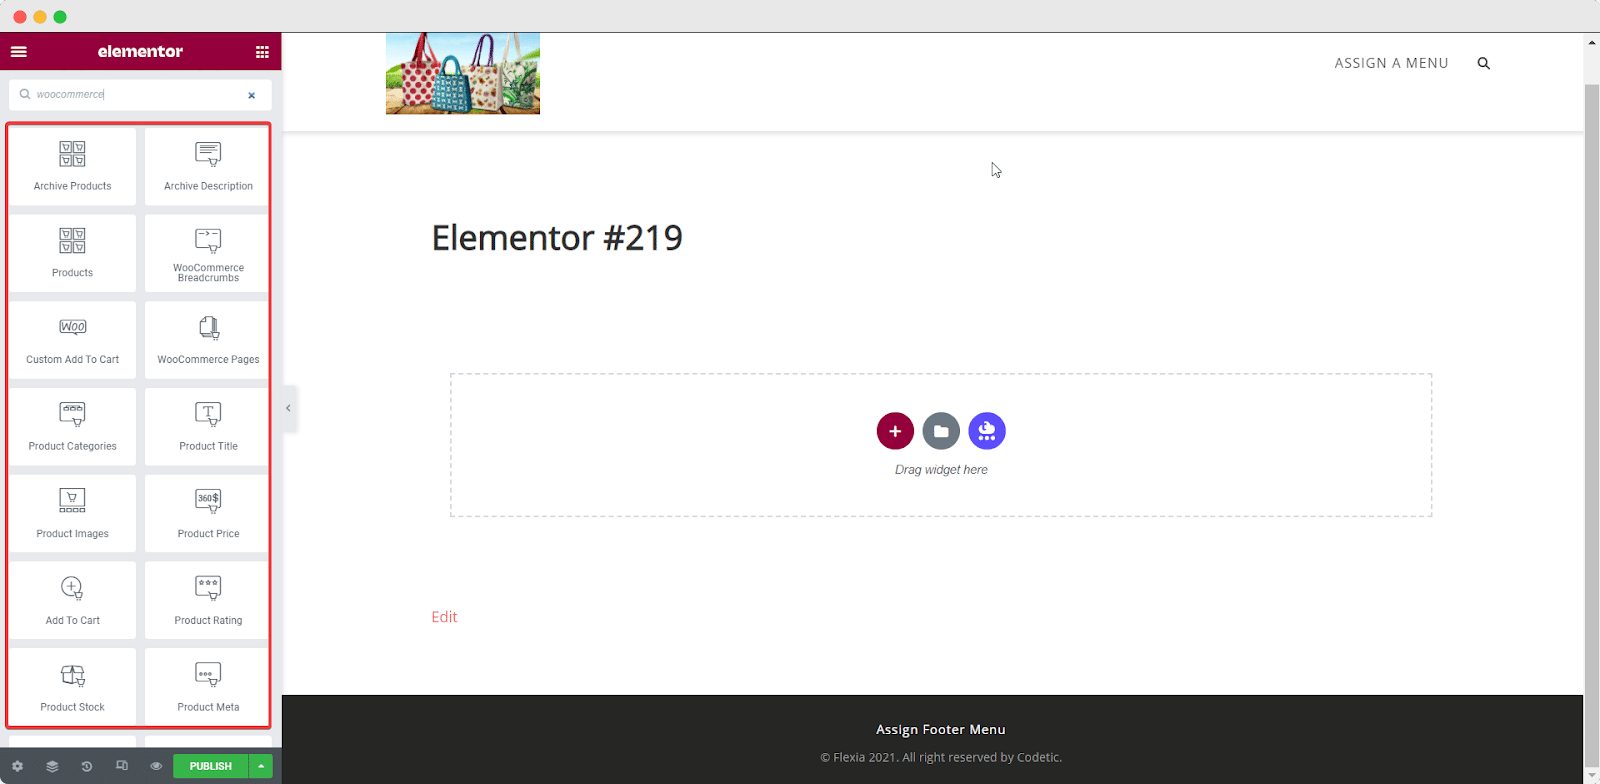
At this point, you can capture your audience by displaying your products with lots of customization. Elementor gives you widgets for WooCommerce to design each of the pages from your online store. You need to search for WooCommerce widgets in the left sidebar. Then drag and drop the block where you want to show it.
Step 3: Create WooCommerce Store Page With Elementor
Now you can captivate your customers by displaying your products with lots of customization. Elementor gives you widgets for WooCommerce to design each of the pages from your online store. You need to search for WooCommerce widgets in the left sidebar. Then drag and drop the block where you want to show it.
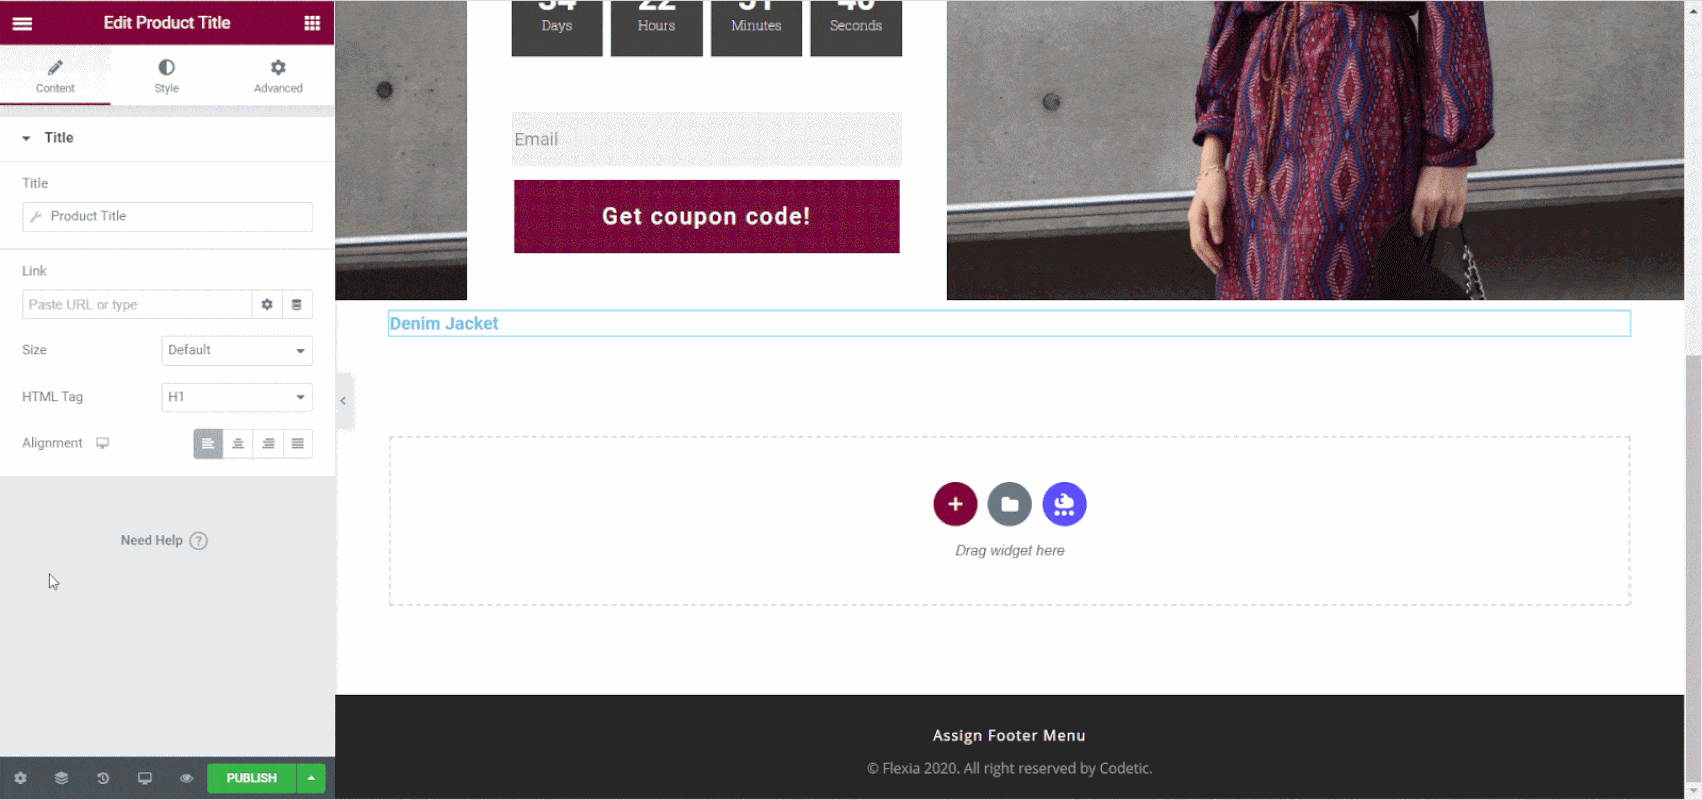
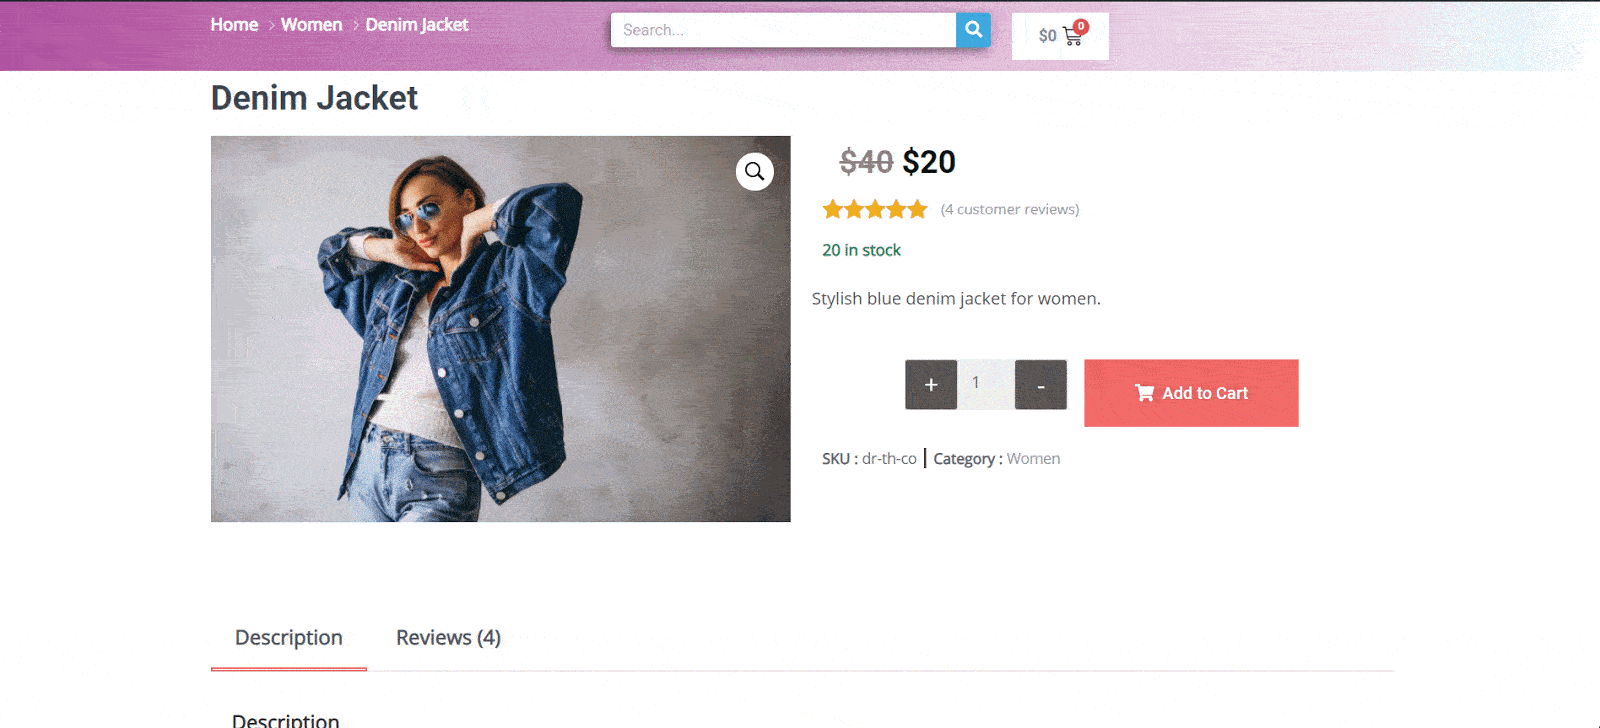
To create a product page on Elementor, you need to start with the Page Title first. From the ‘Elements’ tab, search for ‘Product Title’.
From the ‘Content’ tab you can easily change the heading tag, or give a link to your product. Tweaking from the ‘Style’ tab you can change the text colour, typography of the product title. You can add a shadow to your text to make it look nice.
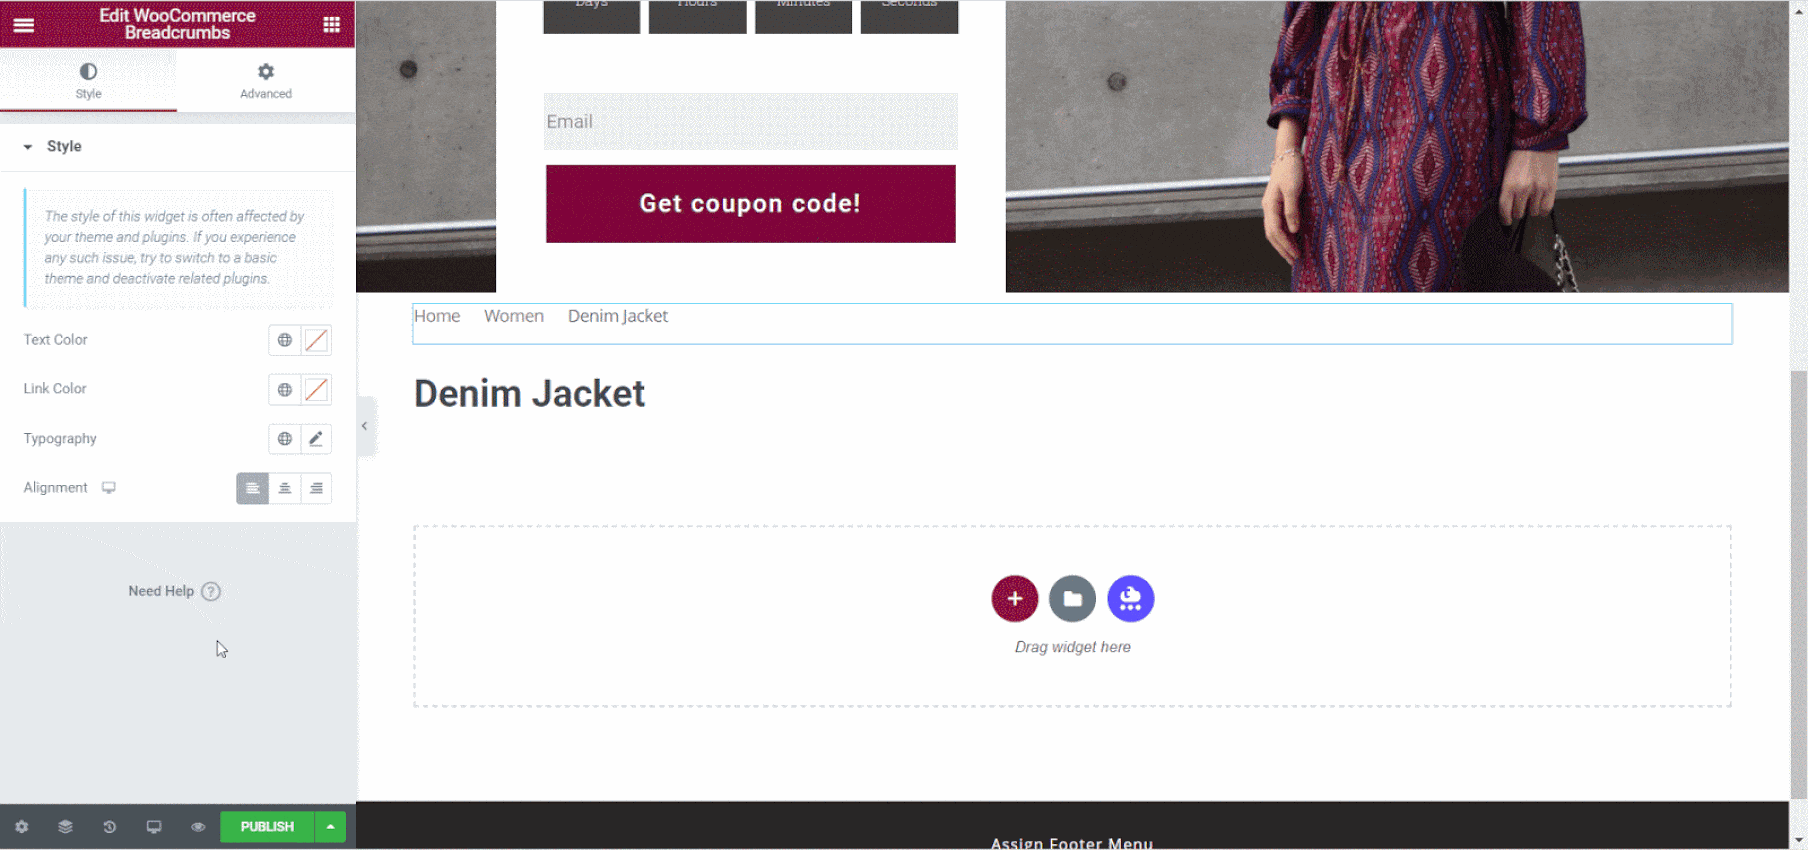
You can use the WooCommerce Breadcrumbs widget on your WooCommerce product page to help your customers with secondary navigation. WooCommerce Breadcrumbs lets your customers keep track of where they are while browsing through your store.
You can change the colour, text or typography to make them look better. Playing around with the alignment will help you to figure out the best pattern.
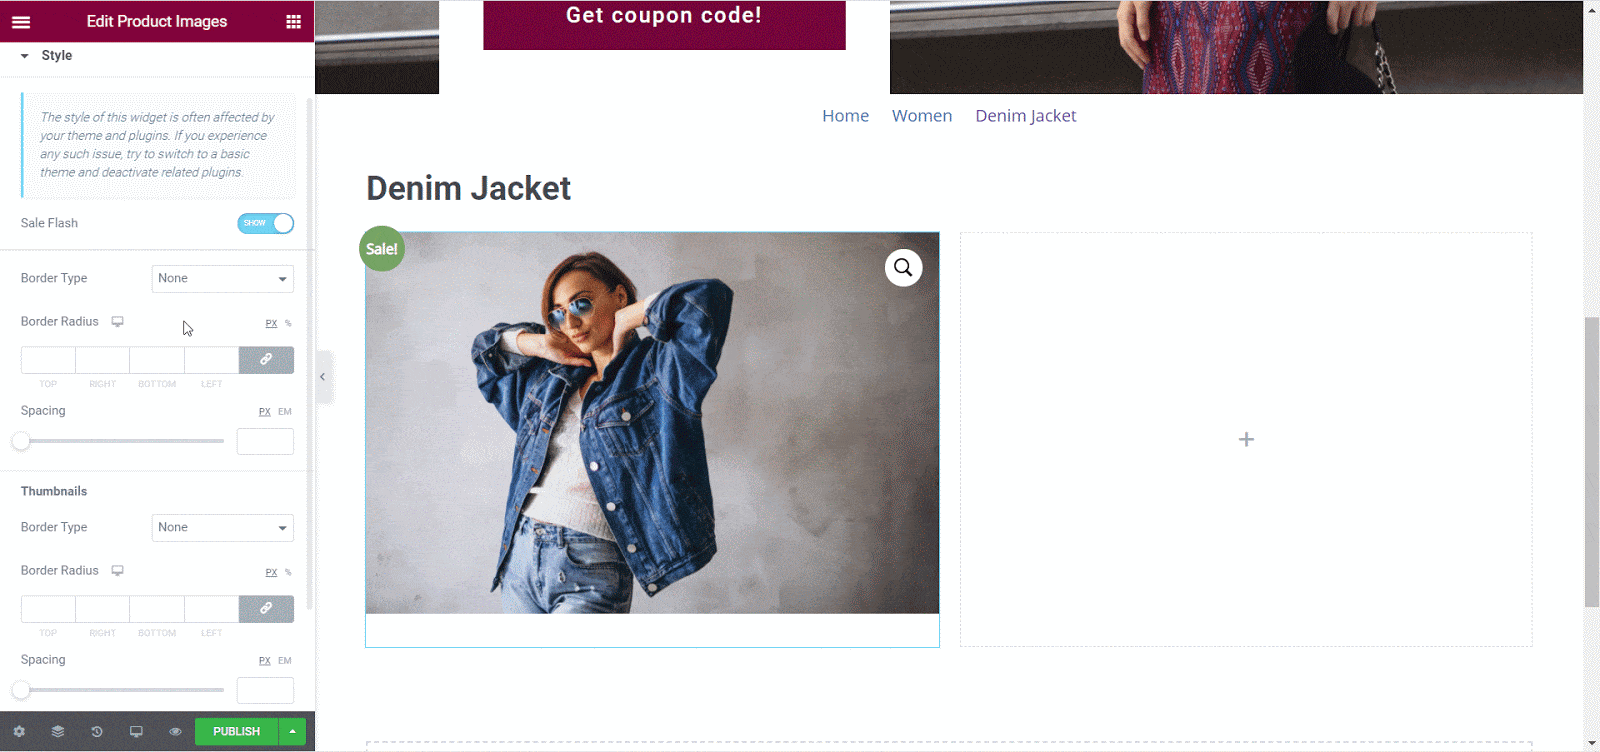
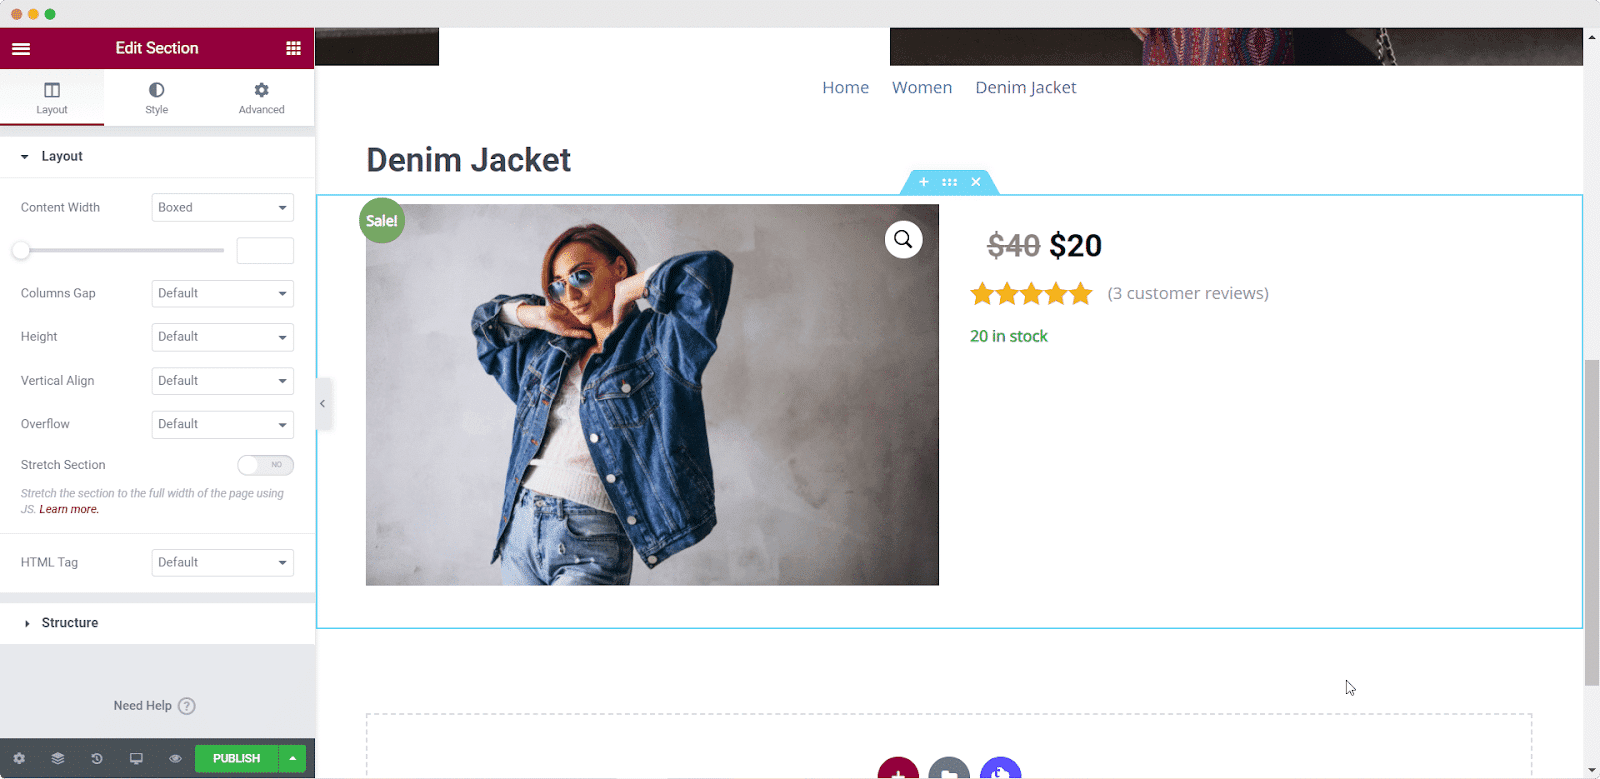
You can now add images to your eCommerce store using the ‘Product Image’ widget from the elements. Today we will use a two-column structure to create a store. You can add as many columns that are suitable for your website.

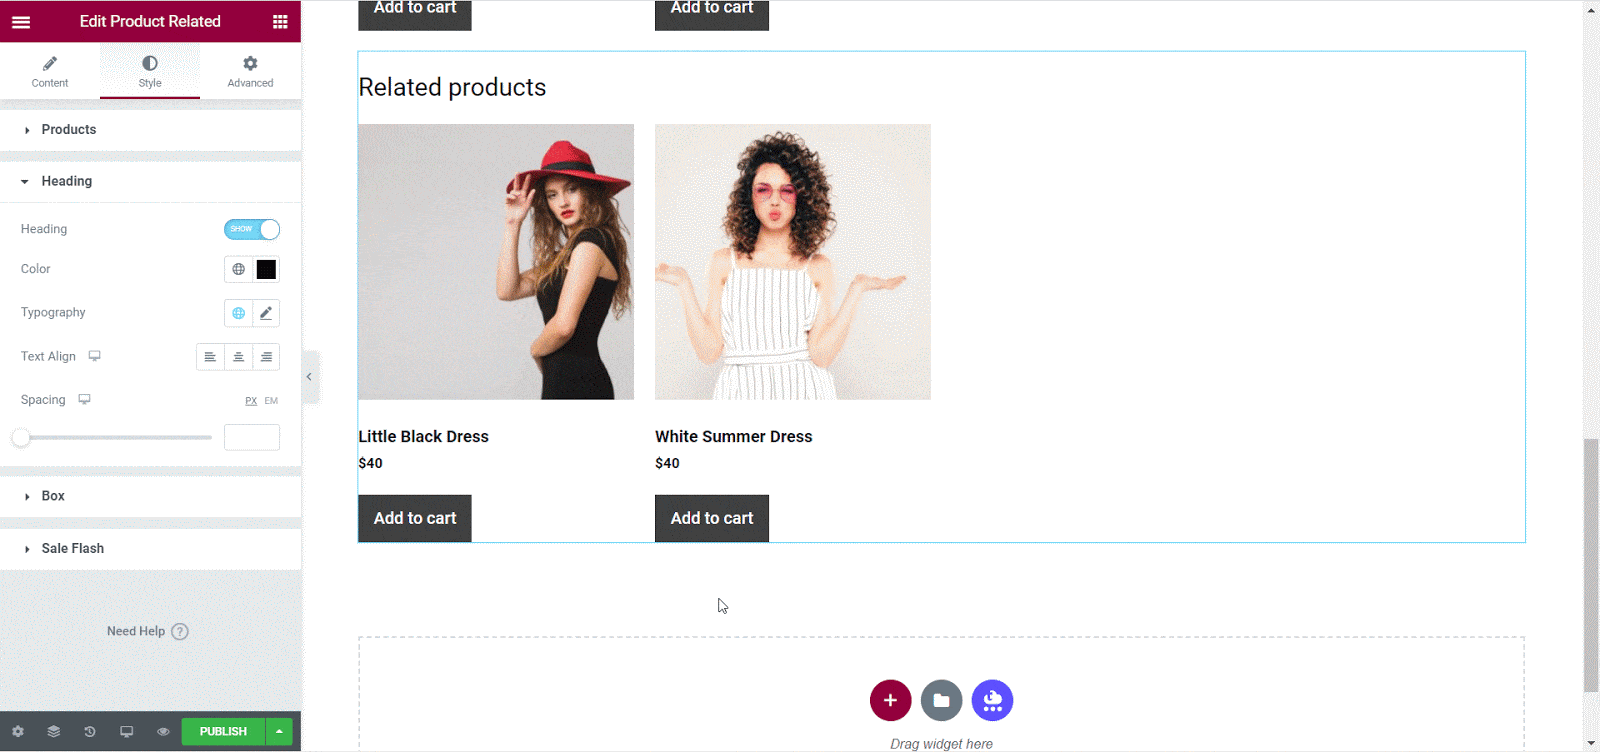
From the product image section, you can add a ‘Sale’ tag to your products that are on sale. To do that, you need to toggle the ‘Sales Flash’ option. When your customer hovers on the picture of the product, the picture will automatically zoom in and show your customer a detailed picture.
Another drop-down option is ‘Border Type’ from which you can choose solid, dotted, dashed or grooved border type. You can also choose from border colour or radius.
As you have already added products to your website, it is time to add more details of each product like price, rating or number of stock. To show the price and ratings, you need to use ‘Product Price’ and ‘Product Rating’ widgets from the elements.
To display the product stock amount, you can use the ‘Product Stock’ widget on your WooCommerce website. It will help the customers to know if the product is available or not. When you are done, all the information will be displayed on the page.
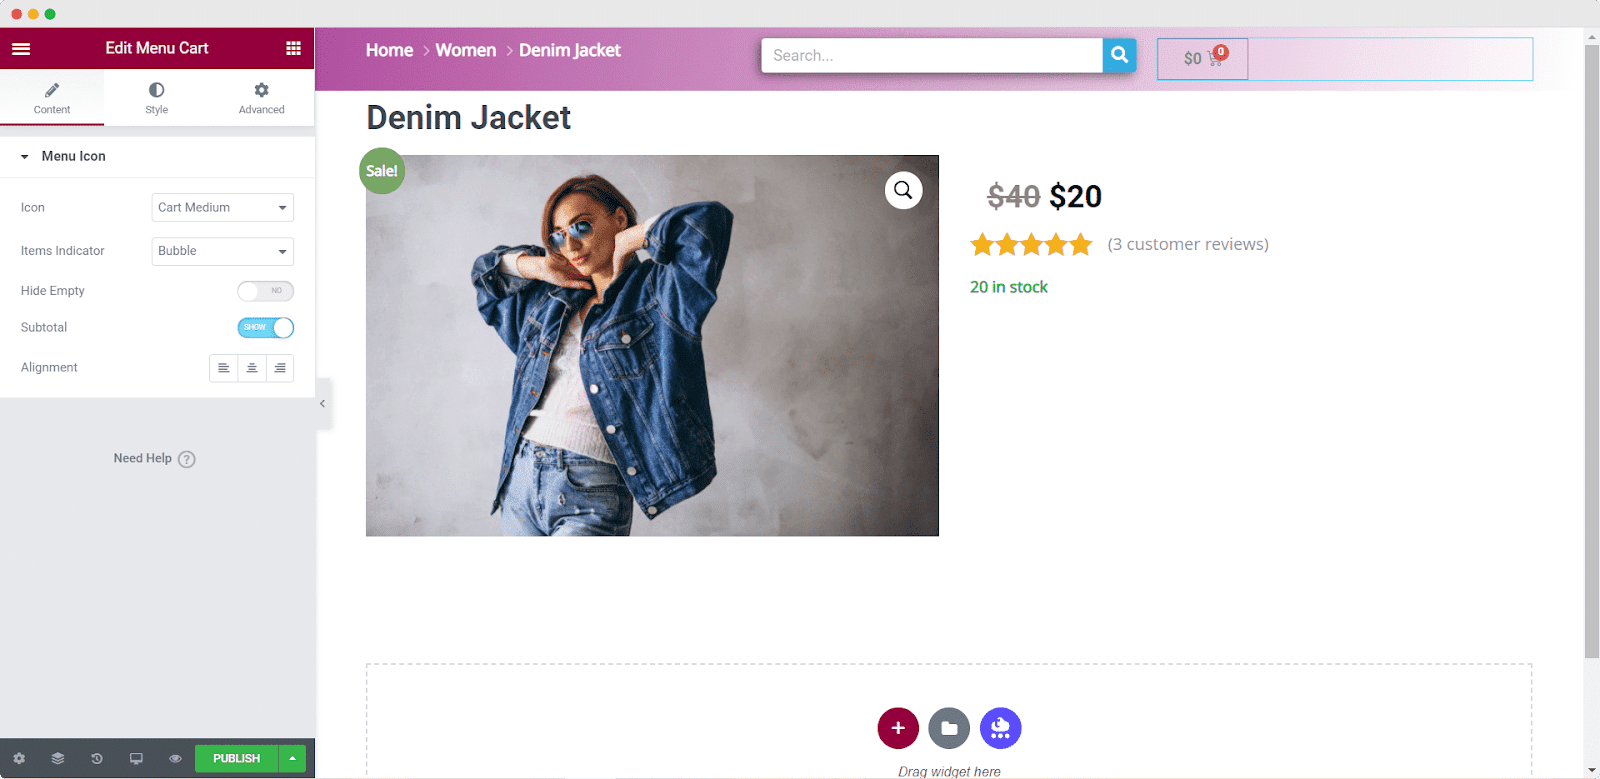
To create a fully functional WooCommerce product page on Elementor, you must create an option for your customers to view their cart. Search for the ‘Menu Cart’ element from the search bar and drop it wherever it is suitable.
You can customize the appearance of your menu cart icon from here. You can select among the ‘Cart,’ ‘Basket,’ and ‘Bag’ icons, as well as whether they should be ‘Light,’ ‘Medium,’ or ‘Solid.’
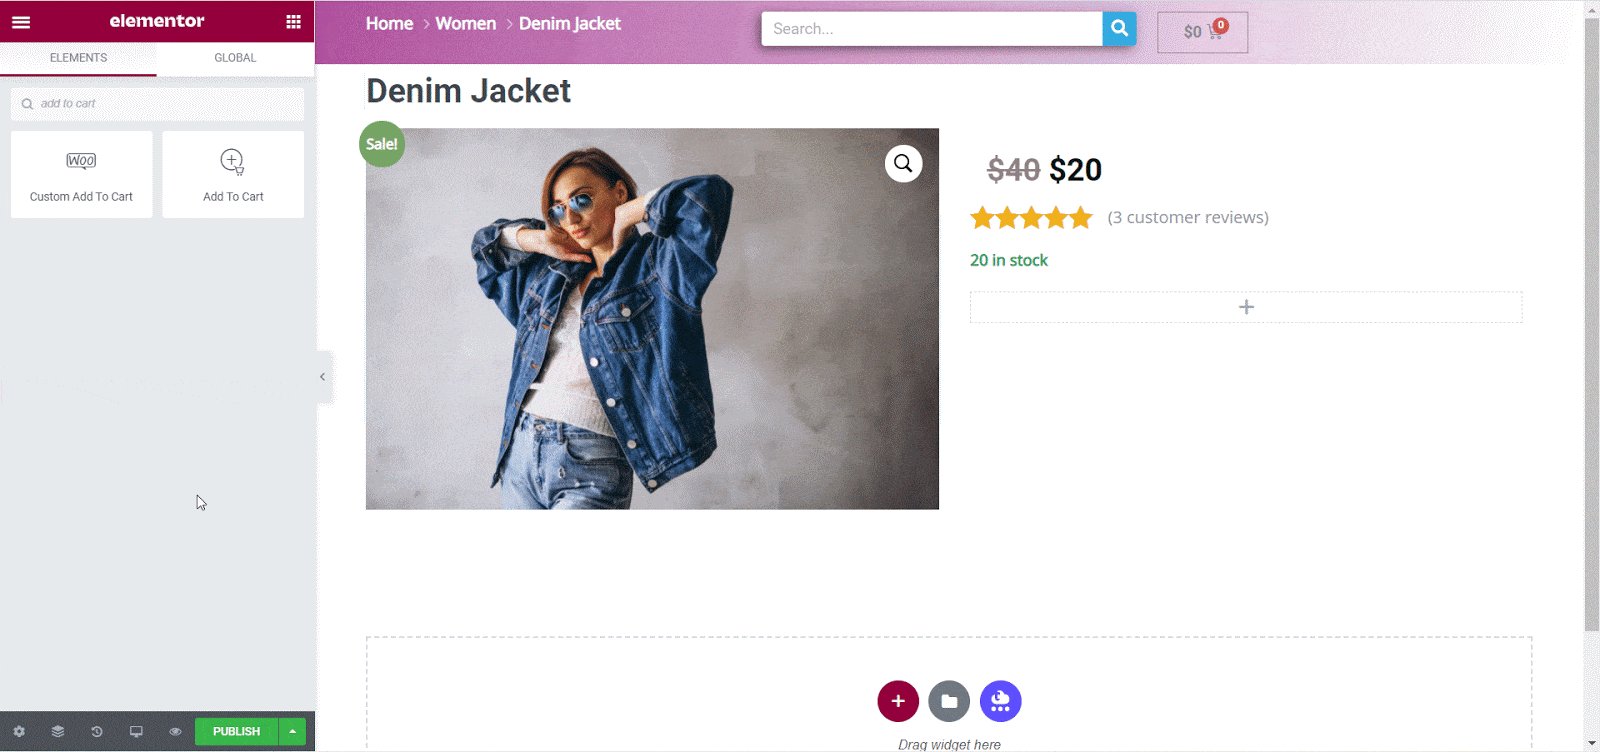
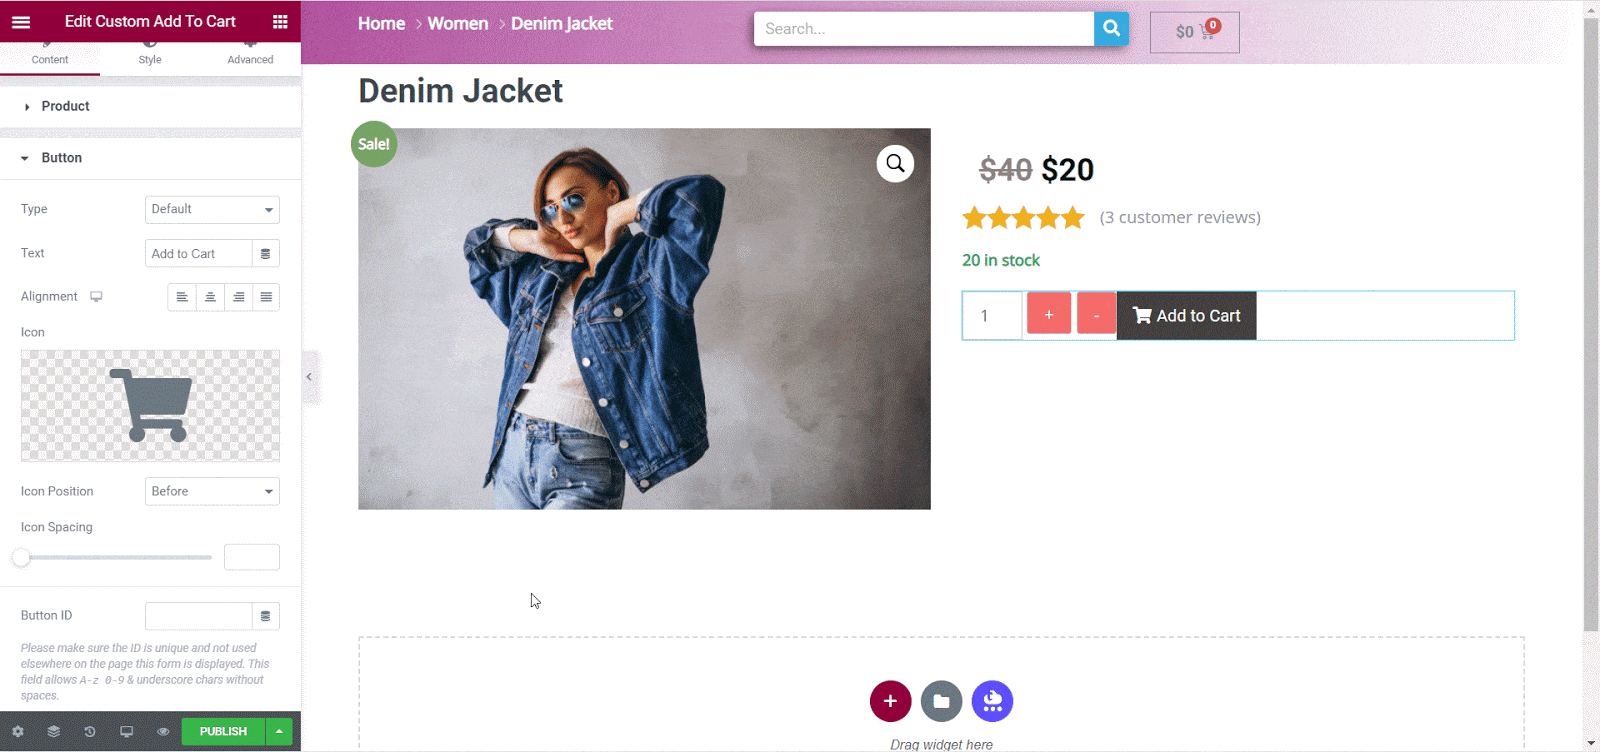
It’s time to create a compelling Add To Cart button for your WooCommerce store. This step is essential to help customers make purchases from you. You do not need to code anything to create this button. Simple drag and drop the ‘Custom Add To Cart’ element from the list and you are good to go.
Once you have added the Add To Cart button to your store, you can now customize it as much as you can. Adjust the positioning of the button or tweak the alignment to make it look nice.
Next, you can add a ‘Short Description’ element to give an overview of the product to your customers. You can place the short description wherever you want. Usually, people place the product short description just under the price and ratings. When you drag and drop the ‘Product Short Description’ widget, all the descriptions can be displayed.

Step 4: Publish Product Page On Your WooCommerce Store
It’s time to publish all that you have made so far. Click on the ‘Publish’ button to make the page live. With Elementor, you can always come back and edit your WooCommerce store appearance easily and save the changes.
Click on the ‘Preview’ option from below and see how your online store looks like. If you feel like changing anything, click on the ‘Customize’ option from above and go back to Elementor editor again.
More Plugins To Design Your Online Store
Now buckle up to explore more free essential plugins to increase sales on your online store instantly. We all know that making sales on an online platform is even harder than building a WooCommerce store from scratch. Keeping that in mind, we will suggest you install and activate some lightweight and highly functional plugins.
Add Unique Features Using Essential Addons For Elementor
Essential Addons for Elementor is a free plugin that will provide you with 70+ unique widgets to style your online store even better. This plugin offers widgets only dedicated to creating WooCommerce stores that will make your online store more interactive and lively.

Essential Addons for Elementor Pro gives you even more WooCommerce widgets to make your online store stand out. To explore all the WooCommerce Essential Addon widgets you need to install and activate the pro version on your WordPress eCommerce website.
You can use the EA Woo product collections element to showcase all of your WooCommerce products in a stylish way, with an awesome layout and hover animation. You can use this element to display products based on their categories, tags, and attributes.

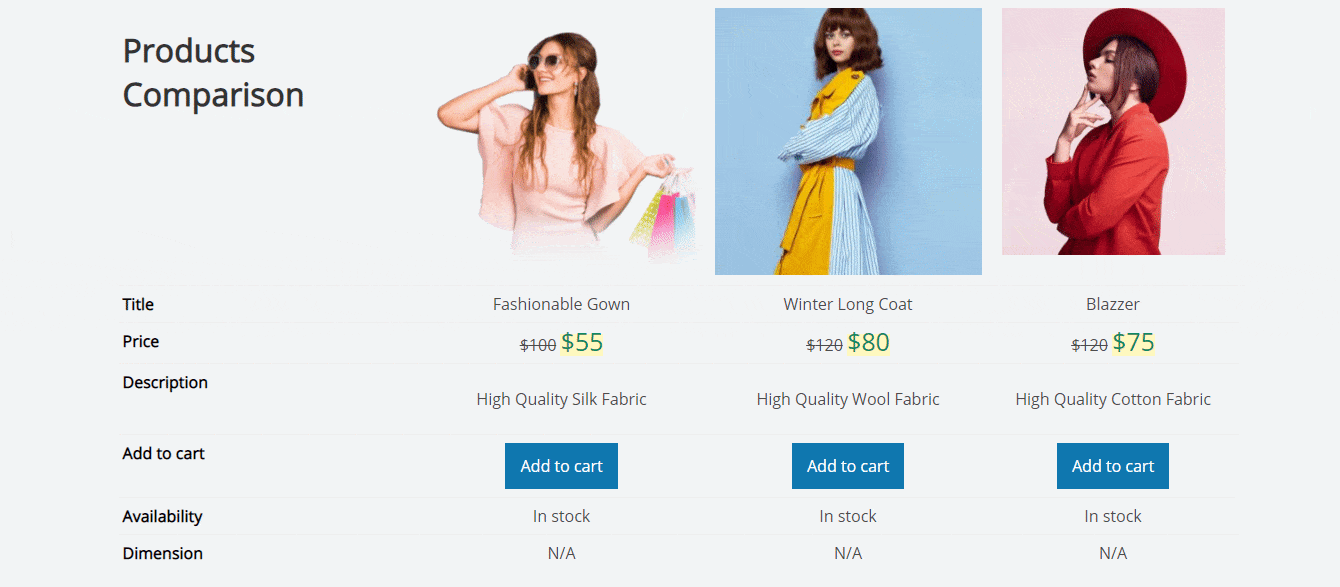
You might have upgraded all your product quality and want to show a before-after comparison picture with details on your eCommerce website. You can easily do this using EA Woo Product Compare widget on your WordPress eCommerce website.
Creating a separate product launch page on your WooCommerce store will help your customers become excited about your new product. The EA Product Grid element allows you to showcase products in a grid with a lot more information about them. To learn more about the product, your visitors don’t have to leave the page.

Do you want to create a dynamic online WooCommerce store that’s as engaging as possible? To display products in the carousel, the EA Woo Product Carousel widget comes with a variety of style options. This simple widget can transform your eCommerce website into a beautiful and dynamic one in a matter of seconds.

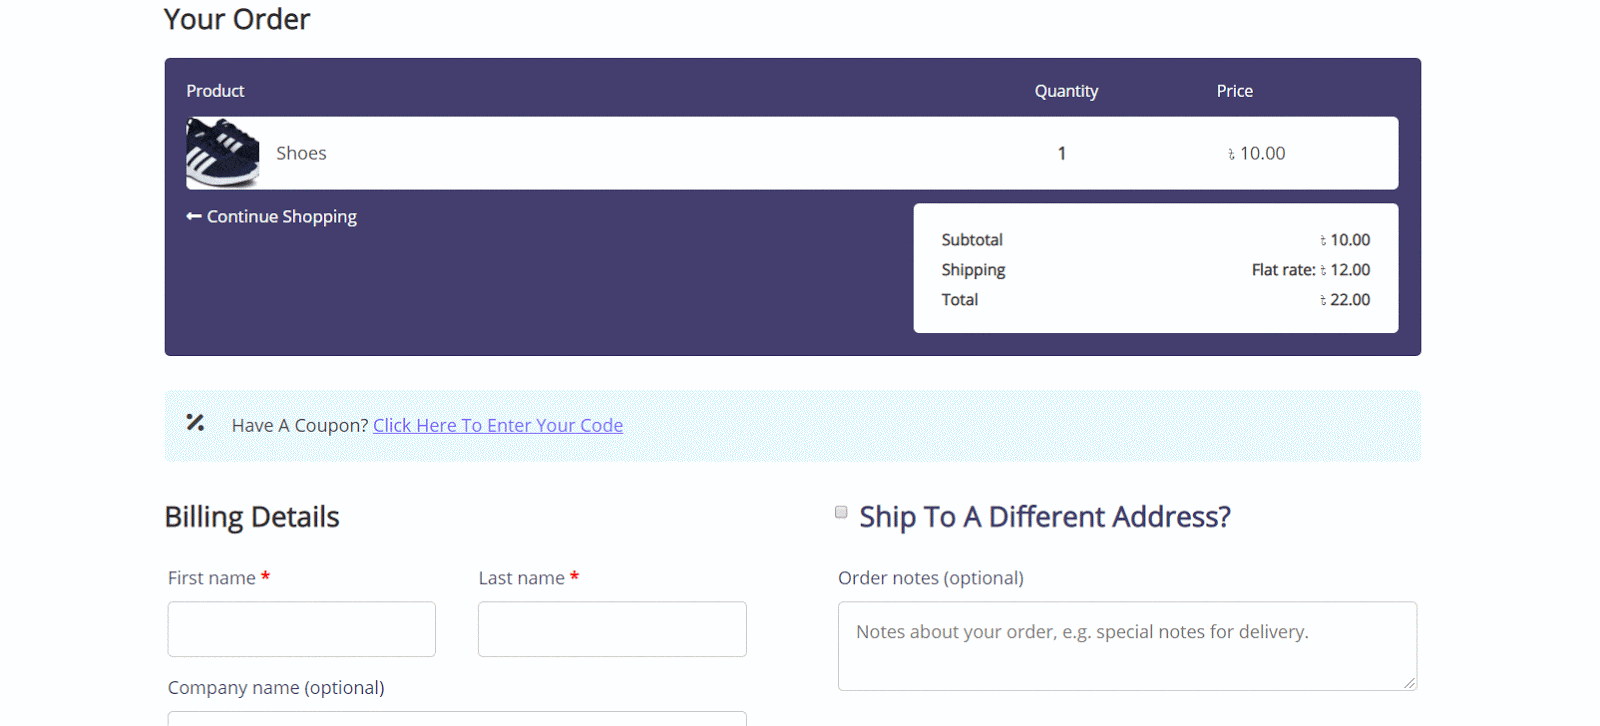
Essential Addons also provides the Woo Checkout widget, which allows you to build your checkout page in three different layouts. Customers may want to abandon a checkout page as quickly as possible if it is cluttered with needless things.
By this simple demonstration of Essential Addons for Elementor plugin widgets, you have already got the idea of how beautifully you can present your eCommerce store to your customers.
Get Stunning Elementor Templates For WooCommerce Store
If you want to build your WooCommerce store in 5 minutes, then you can check out beautiful, stunning Elementor templates for your online store on Templately. This is one of the largest Elementor templates libraries that is being used by more than 100,000 web creators. Whichever type of product you’re selling on your eCommerce store, you will find the right WooCommerce template for you on Templately. Check out some of the top 5 WooCommerce template packs by Templately to design your online store creatively.
Create Your eCommerce Store Today With Elementor
If you are ready to build your very first WooCommerce store online, start using Elementor to have a seamless experience without doing any coding. If you find this blog useful enough, leave your comments below. Share your Elementor experience with us on our Facebook group. To get more useful updates and suggestions, subscribe to our blog.

Best Tool for WordPress Web Agencies
Finding the best tools for WordPress agencies can feel overwhelming – last Tuesday, I watched one of my

Best Cyber Monday Deals of 2025 for WordPress Web Agencies
Looking for the best Cyber Monday deals of 2025 for WordPress web agencies? You’re in the right place.

Judge.me is Leaving WordPress – Here’s the Best Judge.me Alternative (and How to Migrate Easily)
If you’re using Judge.me on your WooCommerce store, there’s an important update you can’t ignore: Judge.me is officially